As an editor, your ultimate goal is to creatively bring together visuals and sound to craft a final product that engages your audience. So why am I talking to you about organizing files? The fact is, while it probably isn't as fun as editing, taking care of your digital assets (footage, music, SFX, etc.) is one of the best things you can do to free up your creativity and ensure a smooth editing workflow.
Why is it so important to organize assets before editing?
So you've been working on your edit all day, and you're almost done making a video - the cuts are working, the music is just right, and the color grade is bringing your footage to life.
But then disaster strikes.
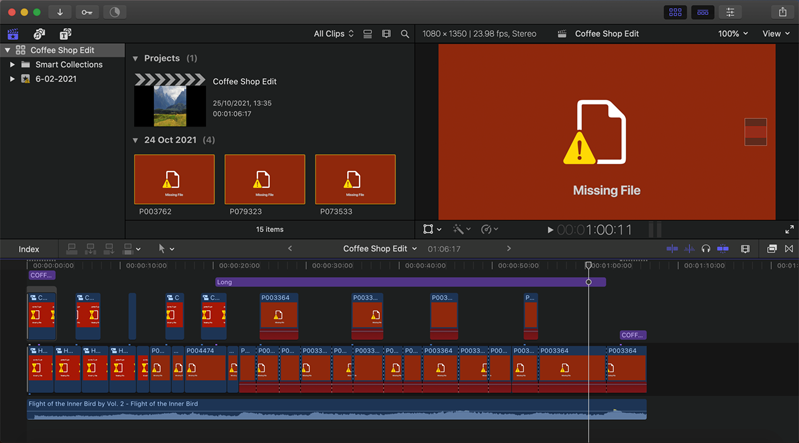
You leave your edit for the night, and when you open it back up, your screen reads "Media Not Found" or "Missing File" in big, scary text. Your timeline is all red, and your clips are nowhere to be found. The reason? You probably haven't organized your assets properly.
The experience above is something nearly every editor has gone through at some point in their career. Still, the good news is it's completely avoidable. You'll find a step-by-step guide on how to organize your files below, but for now, it basically involves grouping together all your assets into clearly-labeled folders and putting all of those into a master folder for your entire project.
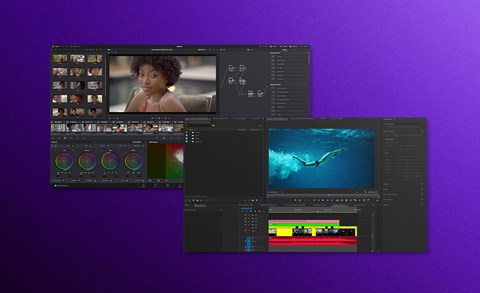
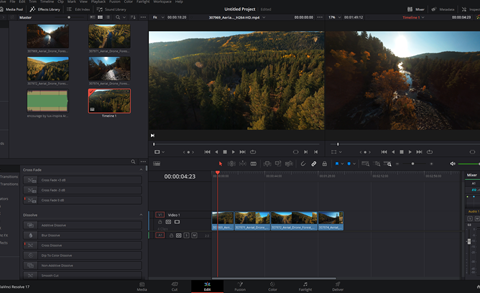
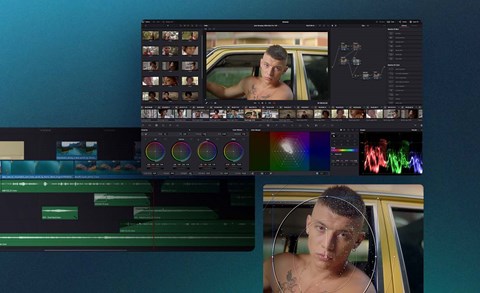
Organizing your assets allows your NLE system (Non-Linear Editing system, e.g., Premiere Pro, DaVinci Resolve, Final Cut Pro X) to locate the files you have decided to include in your edit. When you "bring in files" to an edit, you're not really moving anything (unlike what the phrase suggests). You are actually just telling your NLE system to look in the right folders and show you what it finds. So when your files are well structured, it helps your program find what it needs, which, in turn, allows you to find your flow.
More benefits of good file management
So having professional file management will definitely help you avoid the red screen of doom, but there are lots of other great reasons to do it too. So before diving into a step-by-step guide on organizing files for your next project, here are 3 more big benefits of doing so:
It helps you quickly locate assets while editing
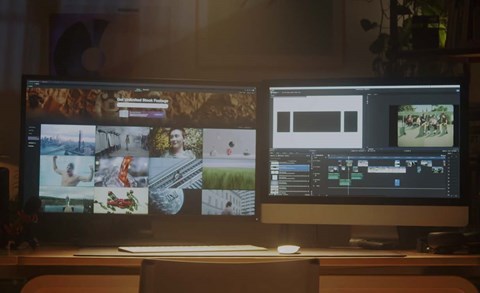
Once you have organized your assets and opened up your NLE system, not only will your edit be secure, you'll also be able to find the files you want at breakneck speeds. Whatever you need will already be grouped into the intuitive folders you created, so when it comes to finding a specific clip, song or sound effect, your editing software will show you where to look.
It is vital for collaboration
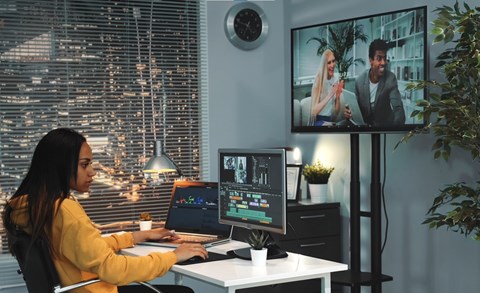
Being organized is crucial when collaborating on an edit (e.g., sharing a timeline with a client, getting feedback from a friend or showing a cut to your director). Unless you can copy and hand over the same file structure you have been editing with, your collaborator will likely have to manually link files themselves, which can be a nightmare, and on complex projects, it is nearly impossible. But if you share your master folder, within which every asset is included in the edit, it should open up for them with no trouble.
It makes your project "mobile" and easy to backup
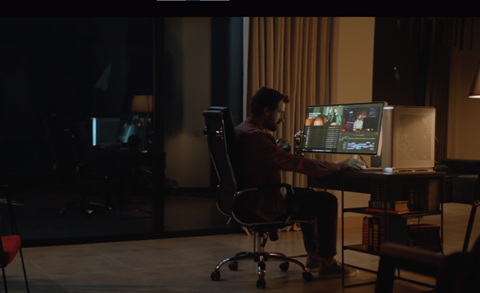
Because of the same principle discussed in the benefit above, with an organized file structure, your edit also becomes entirely transportable and a breeze to backup. As long as your master folder is saved on a portable drive (e.g., a hard drive or SSD), you can edit your project wherever you are. For example, you could do it on your laptop while on a shoot, your home desktop computer or anywhere in between.
How to organize files for your next project - a step-by-step guide
Now that you know some of the biggest reasons to organize video files, it's time to break down the (thankfully) simple process of doing so.
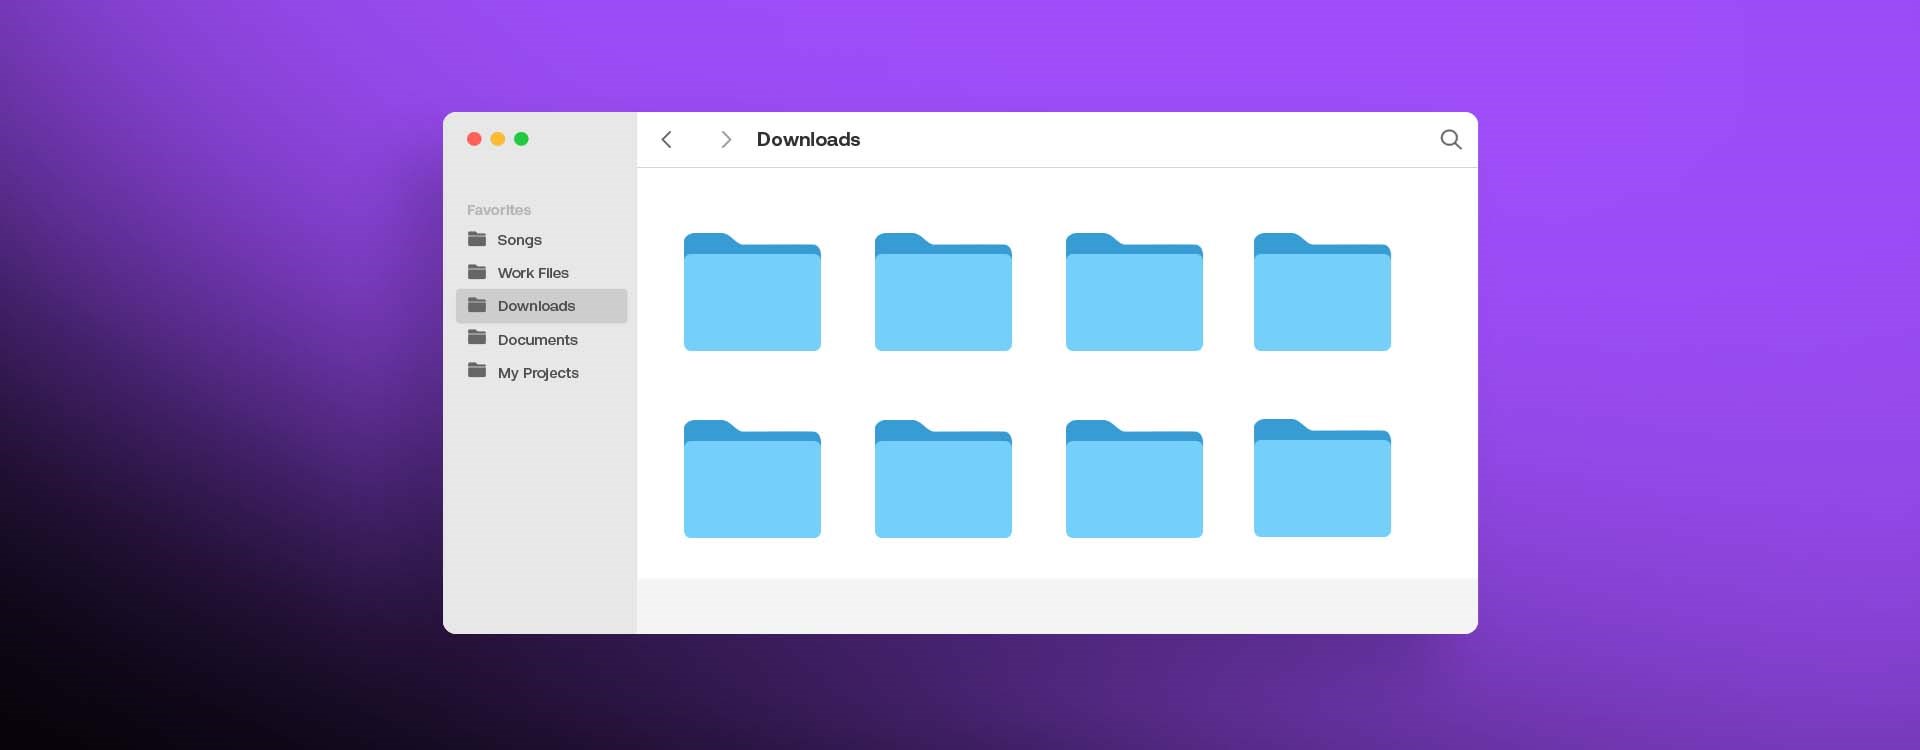
1. Create and name your "Master Folder"
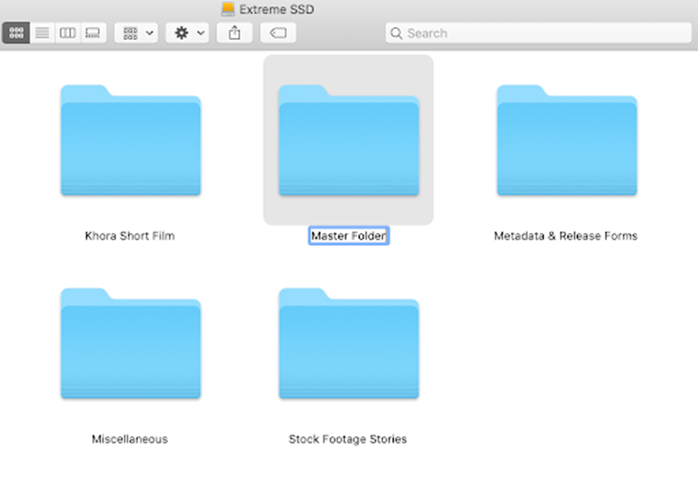
Your master folder is where you should store all the files you are thinking of including in your edit, and you should create this before you do anything else. While I have called mine "Master Folder," you should name yours after the project you are editing so it's easy to find.
2. In the master folder, create relevant folders for all possible files
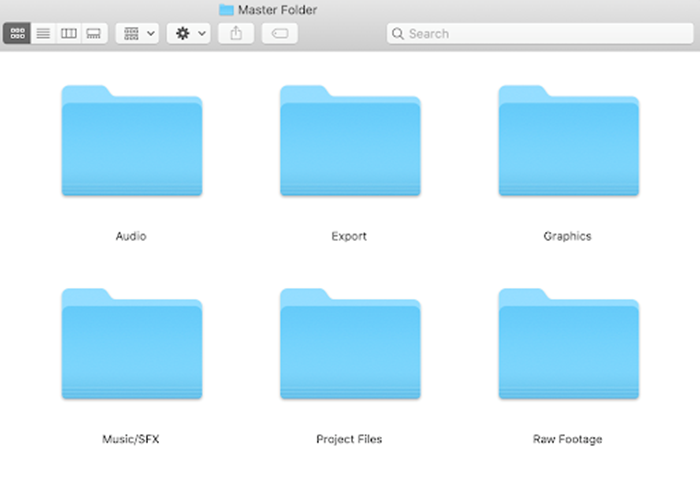
The idea here is that you want to be prepared for any possible kind of asset, so everything you may need in your edit has a place in your file structure. Here's a brief overview of these organizing folders:
- Project files - This is where you can save your project/sequence files (the file your NLE system creates to record your editing decisions)
- Raw Footage - Your main video folder (and possibly still images, though you could create a separate folder for these if you wish)
- Audio - Distinct from "Music/SFX," this would include dialogue, interview audio or voiceover
- Music/SFX - Music and sound effects to experiment with in your edit
- Graphics - Effects or graphics outside of your NLE system's built-in catalog
- Export - Finally, a video folder for your exported edits, which will prove helpful if you are creating multiple drafts
A helpful tip at this stage is to copy this master folder and save it in your drive as a template, ready to be populated for future projects.
3. Populate your folders with all relevant assets
Now that you have established a professional, secure file structure, it's time to fill it with all the digital assets you currently have to edit with. So put your video clips into the "Raw Footage" folder, your audio recordings into the "Audio" folder, etc.
4. Use sub-folders to categorize assets further
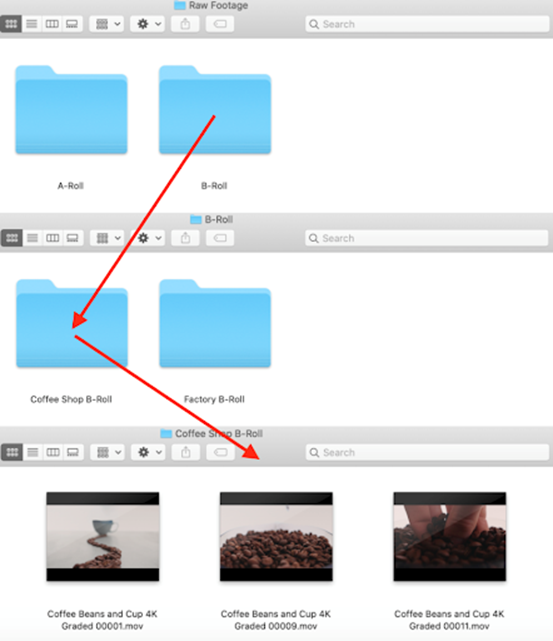
While this may not be necessary for all video projects, creating even more folders within those listed in Step 2 could help you organize your assets further. For example, if you are editing a documentary, you are likely to have both A-Roll (interviews) and B-Roll (cutaways, stock footage). To help in the editing process, you could separate these into different folders within your "Raw Footage" folder. You could then divide those into further categories, such as by location or subject. The end result should be a clearly defined file structure that leads you to exactly the asset you want.
5. Open up your NLE and import assets directly from your file structure
Depending on your chosen software, this process could look slightly different. Still, so long as you import directly from your file structure, your edit should at least be secure. In Premiere Pro, for example, you can click and drag your entire master folder into the media browser, maintaining the structure you have designed. Final Cut Pro X, on the other hand, uses keyword collections to replicate file structures but is otherwise a similar process.
So there you have it, a simple approach to professional file management. It will save your edit, speed up your turnaround, let your creativity run wild and get you on the way to becoming a professional video editor.
About Tim
Tim McGlinchey is a lecturer in Northern Ireland's leading film school, where he specializes in teaching cinematography, editing and scriptwriting. His professional background is in commercial videography and narrative filmmaking, which he still engages in heavily by writing and directing short films and contributing stock footage to Artgrid.io.