What is DaVinci Resolve?
DaVinci Resolve is an outstanding professional video editing suite developed by Blackmagic Design. Now, at version 17, it is fully featured, including video editing, visual effects, color grading and audio mixing tools that allow you to make amazing content. As a newbie to video editing, it may seem a bit intimidating, but if you are going to get good at video editing, this is the place to start.
DaVinci Resolve vs. Premiere Pro vs. Final Cut Pro
You may be wondering why you should start with DaVinci Resolve and not Premiere Pro or Final Cut Pro. In essence, these 3 programs are all very similar in how they work and what they are capable of doing. You could use any of them for video editing, and many people do. We could write an entire article just about the subtle differences between these video editing programs, but in the end, the main thing that separates DaVinci Resolve for someone new to video editing is cost.
DaVinci Resolve has 2 versions. The standard free version (yes, that’s fully free and fully functional) and the studio version, which has several enhanced features that are not available in the free version. Don’t be fooled; the free version is very powerful. It’s not a free trial type of thing. The fact that it’s free makes DaVinci Resolve the perfect entry point to the world of video editing. The reality is you may never need to leave it, but if you do, the skills you learn will still be easily transferable to other video editing software.
How to use DaVinci Resolve 17
Sometimes the best way to learn is by doing. So let’s jump straight in and edit your first video while we explain how to use DaVinci Resolve. We will be using some amazing aerial footage from Artgrid and music from Artlist to make the short video below. You can use any clips you have to follow along and make something of your own. The steps will still apply.
First, you will need to download and install DaVinci Resolve 17 from the Blackmagic Design website. Do make sure that your computer meets at least the minimum system requirements for the software; otherwise, it will not work. It’s important to realize that video editing can be very resource-intensive, so you will need a pretty decent computer to work with video.
Starting a new project
The first page you will see when you open DaVinci Resolve is the project manager. This is where you can manage existing projects, backup and restore databases, rename projects and do a bunch of other things. All you need to do for this DaVinci resolve tutorial is start a new project. You can do this by double-clicking on the “Untitled Project” which is a blank new project or by clicking “New Project” at the bottom right.
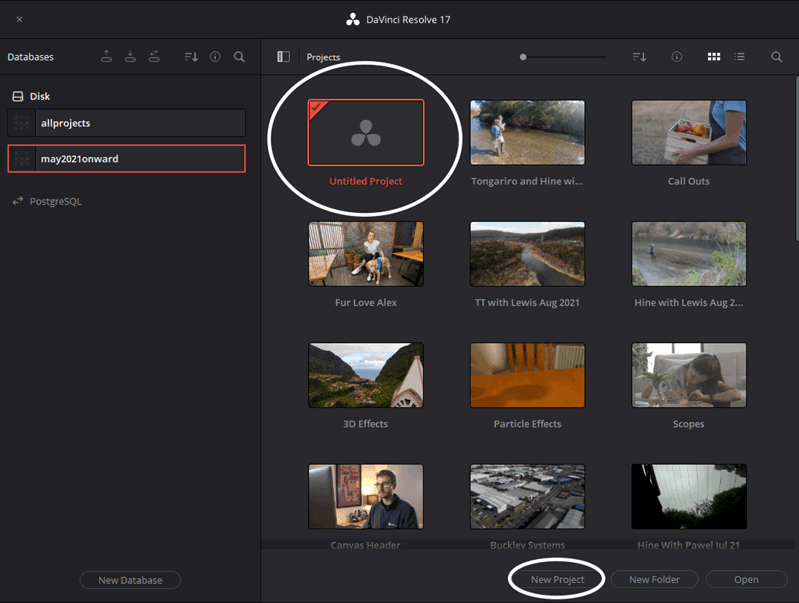
The only difference between the 2 methods is that clicking “New Project” will ask you to name your project while opening an untitled project requires you to name the project once you save it for the first time.
Importing media and project settings
You can import your video clips, photos, music, sound effects, graphics and any other “media” you will use in your video in the Media, Cut and Edit Pages. It’s best to get into the habit of using the Media Page for this. After all, it’s the page designed to manage your media.
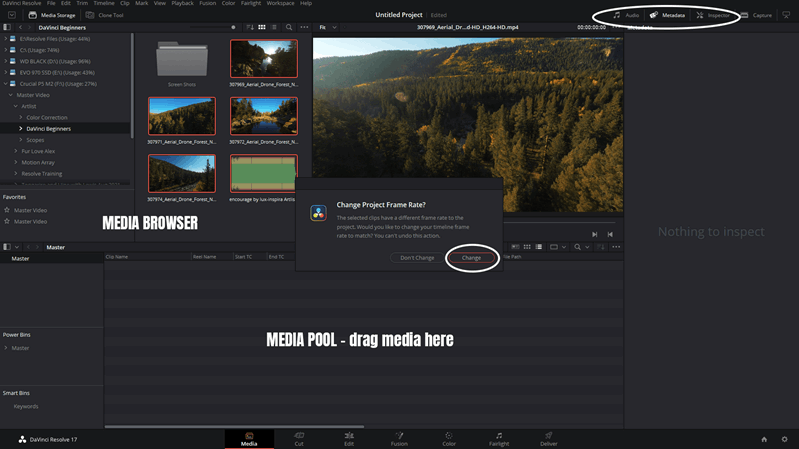
You can simply find your clips on your drive and drag and drop them into the media pool, or you can navigate to the folder using the browser in the Media Page and then drag it across. Once you do this, you may see a popup that asks “Change Project Frame Rate?”. It means that your videos’ frame rates and that of your project are different. Without getting bogged down in the detail of why this is important, just click Change as it is “generally” best to edit in the same frame rate as your footage. It’s something you will need to learn more about as you progress with video editing, but not now.
The media pool also allows you to play and review clips, sync audio, check settings, add metadata and much more in order to organize big projects, but those are not relevant for your first edit.
Creating a timeline
The timeline is where you put your media in sequence to make a video. You can use either the Cut Page or Edit Page for this, but for simplicity, we will start with the Edit Page.
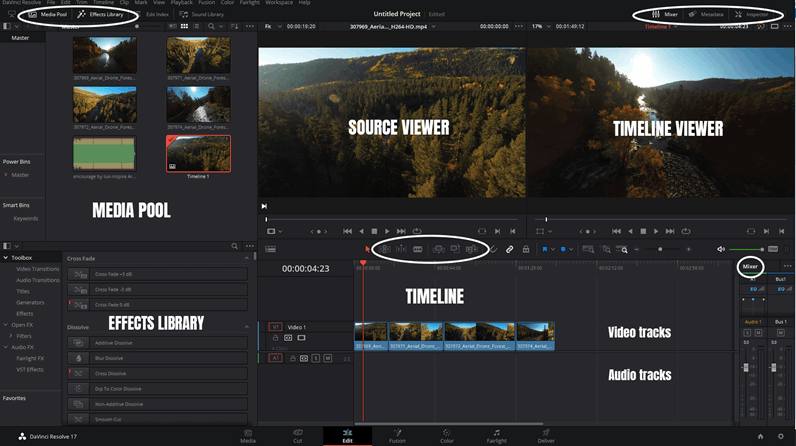
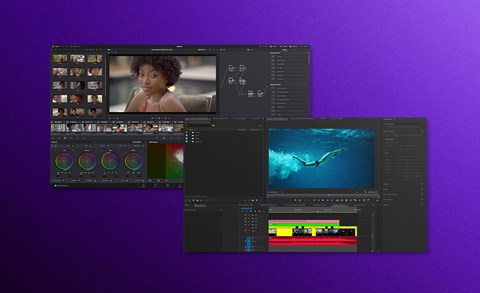
This Edit Page consists of a bunch of windows and is where all the Resolve video editing magic will happen. Here’s a quick overview of the Edit Page user interface.
1. Media Pool
Find and organize your media here. To do that, you can simply select and drag your clips onto the timeline to start your edit.
2. Source Viewer
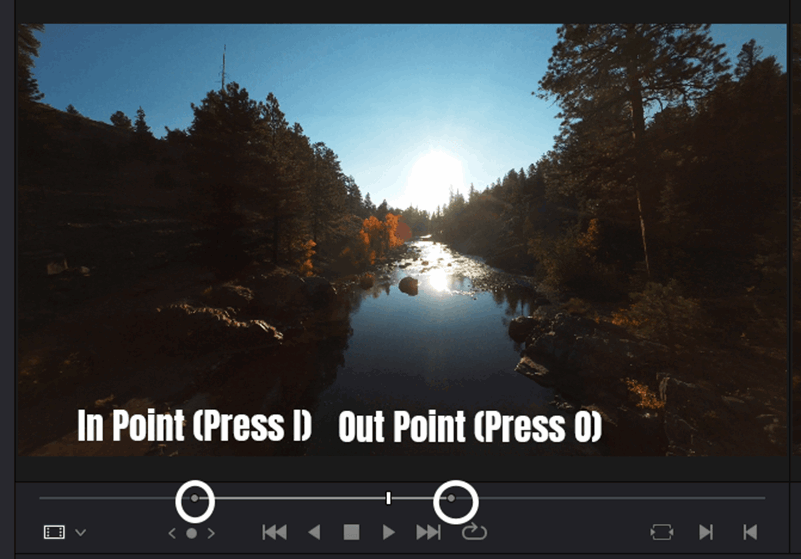
You can review your clips from the media pool here as well as add some in and out points to your clips before placing them on your timeline.
3. Timeline Viewer
Play the clips on your timeline to see your edit in action as well as a number of overlays, like the Transform overlay that lets you change some settings directly in the viewer.
4. Effects Library
Access transitions, titles, video and audio effects and more from the effects here. To add an effect or title, simply drag it onto the clips in your timeline.
5. Inspector
It reveals the settings for your clip and lets you change them, like zoom, position, opacity and text for titles. You can also use keyframes to animate some settings, stabilize clips and much more. Note that when the inspector is open, the source viewer is hidden. Close it to view the source viewer again. It’s a common pitfall.
6. Mixer
Shows your audio levels and lets you adjust the level for each track as well as the overall mix (Bus1).
7. Timeline
Add your clips and media to the timeline to create a sequence that forms your video. The timeline is divided into tracks and split into audio and video. Video tracks work like layers added on top of each other, and audio tracks get mixed.
First edits
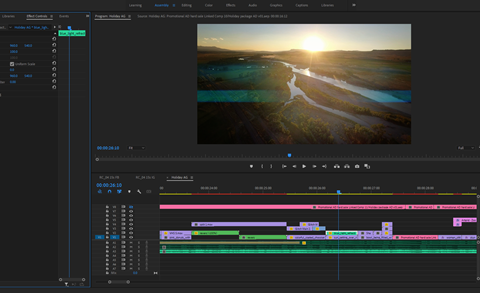
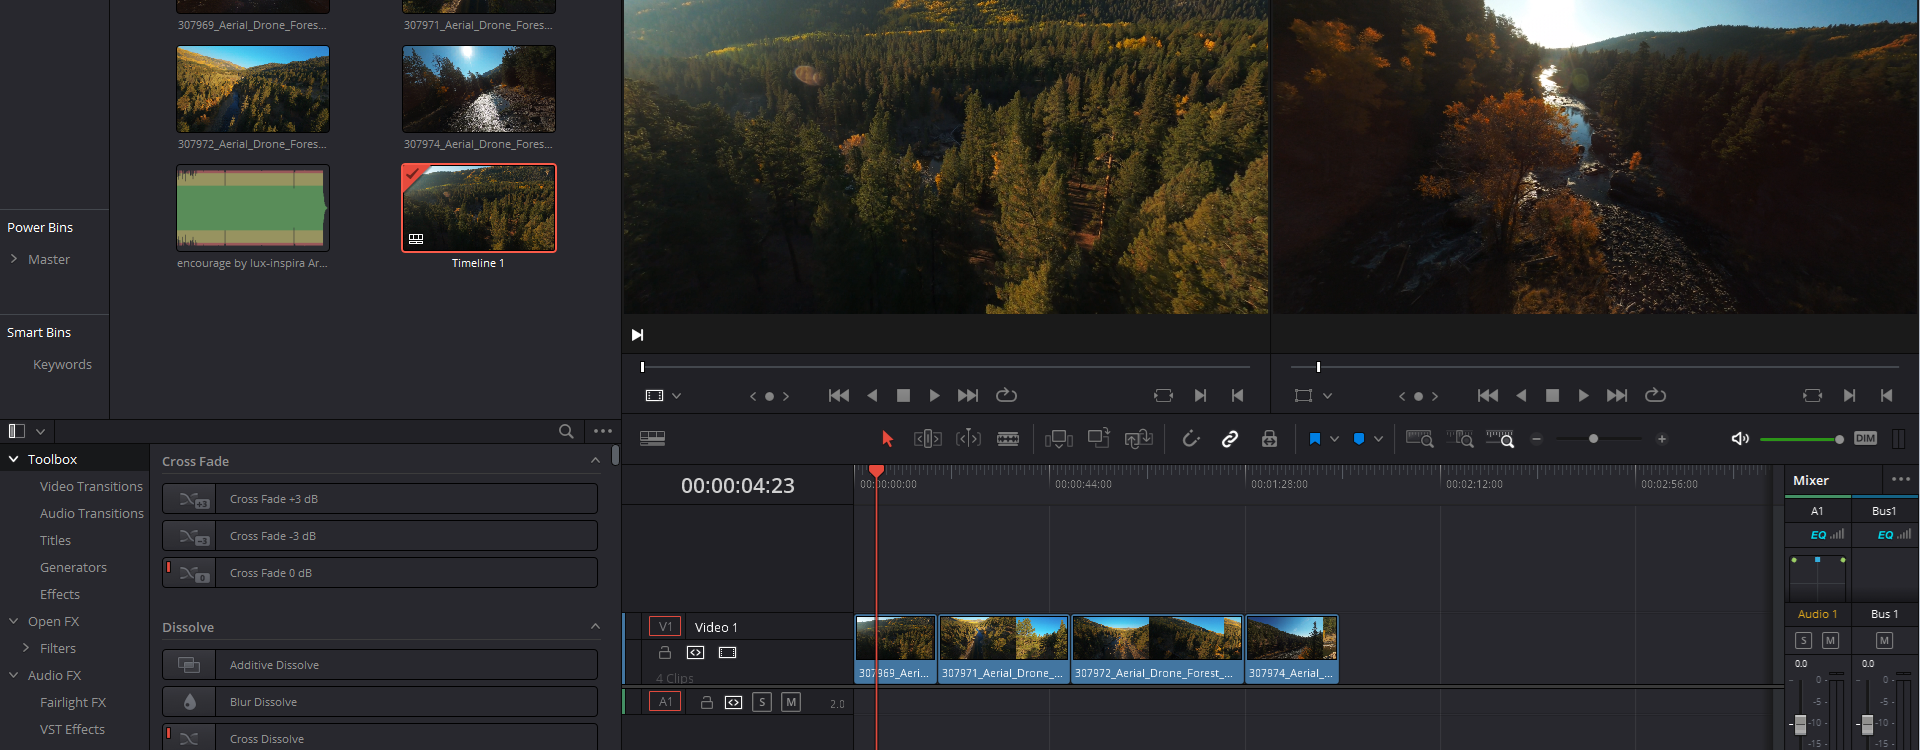
Video editing is the process of creating a sequence of images (videos or photos) put together on your timeline to tell a story. We are going to use the 4 aerial clips we have to make the short video we showed earlier.
To do this, you need to add the clips to your timeline in DaVinci Resolve. There are several ways you can do this.
- Simply drag them straight from the media pool.
- Open the clip in the source viewer and drag it from there onto the timeline.
- Drag from the source viewer to the timeline viewer - some options will show, including Append, Insert, Overwrite, etc.
- Use the buttons above the timeline.
- Use a keyboard shortcut like shift + F12 to append to the end of your timeline.
Once you have a rough sequence of clips in your timeline, you need to trim them to show the part of the footage you want to use in the video. Clips can be trimmed in many ways, resulting in a cut at the end of the clip, where the next clip starts. This is your edit point.
Here are a few ways you can trim your clip:
- Add in and out points in the source viewer before adding your clip to the timeline.
- Once in the timeline, you can drag the edit points at the start and end of the clip to change when it starts and ends.
- Once clips are added into a sequence, you will need to use trim edit mode to ripple edit the clips.
- Use the blade tool to cut a clip at any point and ripple delete the section you don’t need.
Each of these many tools allows you to edit your clips in different ways to achieve your end result. Now that you have your clips in the sequence you want, we will add some music or even sound effects to make it more interesting.
![]()
Adding music and sound effects
Audio lives on the tracks in the bottom half of your timeline. If the clips you use have audio with them, the audio will show up below and be linked to your clip. To add music to your video, or sound effects (also known as SFX), just drag the audio clips onto an audio track below your video. You can use the same editing tools to edit the length of the audio and use the mixer to change the volume of the track to blend well with your other sounds. You can also adjust the volume in much more detailed ways on the clip itself by using keyframes.
Adding titles and transitions
Titles, transitions and other effects can add interest and story to your video if used well. Be careful of overuse. Titles and transitions are found in the effects library at the bottom left of your user interface when open. If it is closed, click on the tab at the top to open it.
Adding titles, transitions and effects in DaVinci Resolve is as easy as drag and drop. Transitions go on your edit points between clips, and titles go on a video track above your clips. Adjust the settings of your title in the inspector.
Exporting your video
That’s it! You have edited a few clips into a sequence to create a basic video. To show this video to the world, you need to export it, also called rendering. This is done on the Deliver Page.
The Deliver Page shows you a preview of what will be exported, including your timeline, but you can’t make any changes here. On the left side are the settings for exporting your video. You can use customs settings or a few presets.
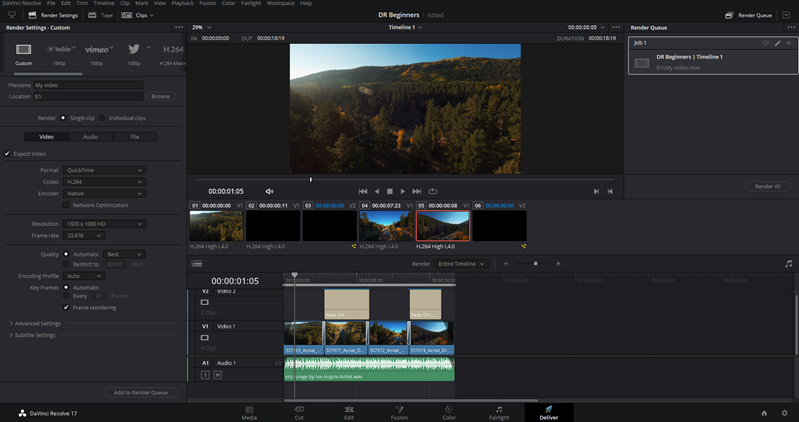
If you are unsure what all the settings mean, check out the recommended export settings for YouTube, Instagram, Facebook and TikTok—choosing a preset like YouTube 1080p will give you a good export for YouTube. It’s a good format for sharing videos online. Then just name your file, choose a destination and add it to the render queue. Click Render All and let DaVinci Resolve do its magic.
Advanced Pages
We did skip over several pages that are important to a DaVinci video editor but not somewhere for a beginner to venture on their first attempt.
Cut Page
The Cut Page is unique to the DaVinci Resolve video editor and designed for speedy editing and sifting through footage. The page has a number of functions that speed up the assembly process before finishing up your edit on the Edit Page. Once you’re comfortable with the Edit Page, learn how to speed things up with the Cut Page.
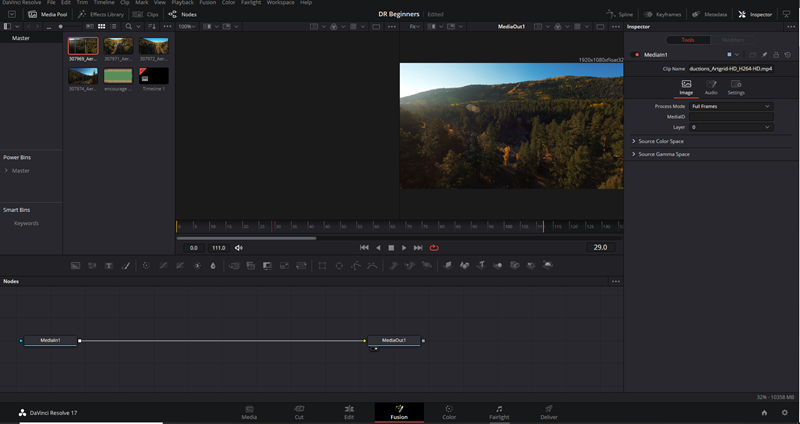
Fusion Page
Fusion is for visual effects and has been integrated into DaVinci Resolve. It’s a node-based visual effects program that allows you to do everything from green screen, tracking, compositing and masking to 3D work and particle effects. It’s advanced, very powerful and very resource-intensive. So spend some time learning how to use DaVinci Resolve before you venture here as a beginner.
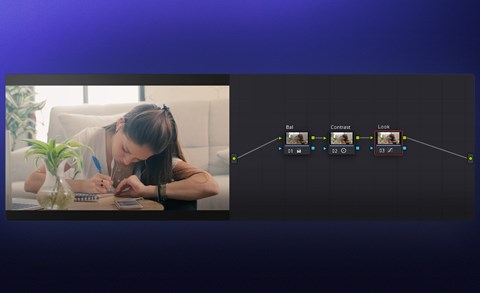
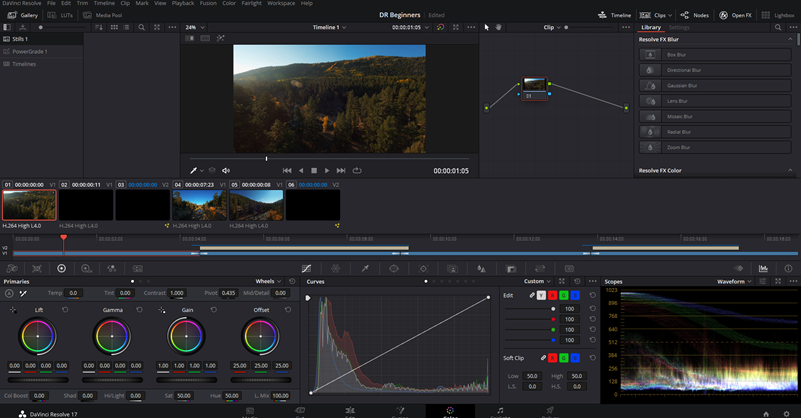
Color Page
This is what DaVinci Resolve is best known for. The number one choice of colorists in the film industry and used on many top productions. DaVinci Resolve has the best color grading interface. It’s also node-based, but with some great training from Blackmagic design available on their website, you will be color correcting and grading like a pro in no time.
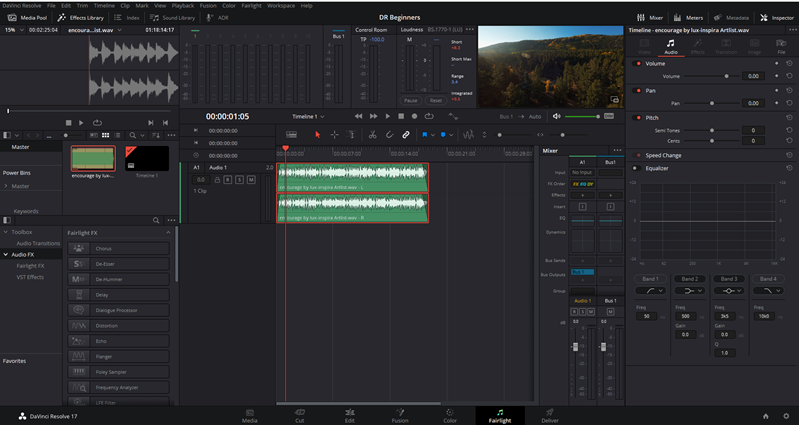
Fairlight Page
Fairlight is where the audio mix for your video is done. It’s a fully-featured DAW (Digital Audio Workstation) built into DaVinci Resolve to serve all your audio needs. It has so many functions and features, that it will take some time to master. Thankfully, Blackmagic design has some great free training available on their website that covers all aspects of how to use DaVinci Resolve 17. You can find it here.
Recap
DaVinci Resolve is a professional video editing suite developed by Blackmagic Design. It is fully featured and has a free version that is a great entry point for beginners that want to learn how to edit videos. While it can be intimidating at the start the skills you will learn in DaVinci Resolve are transferable to other video editing programs like Premiere Pro or Final Cut Pro should you need to change in the future.
While making your first video, you learned that a video is a sequence of clips assembled on a timeline to tell a story. Editing is the process of assembling the sequence and is done mainly on the Edit Page. DaVinci also has many other advanced features, including color grading, visual effects and audio mixing that pros use in the film industry on many high-end productions.
It takes a lot of time and practice to become a good video editor, so keep making videos. Thankfully, Blackmagic design has some great free training available on their website that covers all aspects of how to use DaVinci Resolve 17. You can find the training here. Completing this training will speed up your learning a lot.
About Johan
Johan Kok is passionate about visual story telling and loves the outdoors. He runs his own small video production business in Auckland, New Zealand doing mostly corporate and event work. When he has time he gets involved in local short films and other productions as well as running a small outdoor YouTube channel on the side.