You’re an aspiring creative or just a person who wants to share something with the world through video. But you’ve been wondering about how to make a video—a proper one.
Luckily, there is no great mystery to it, just a few steps to make sure you do it effectively. With a little study and practice, you can learn how to make a video. And, if you’re interested, the process will help you become a regular video creator.
The toolkit below will work whether you want to be a video creator on YouTube, Instagram, or even TikTok, or if you simply want to learn how to make a video for your job. Although not super difficult, it does take a little time and effort to get good at making videos. This is true for any craft. But, as many wise people have said, anything worth doing is worth doing well.
Below, you’re going to learn how a video creator generates ideas and how to write a screenplay. You’re also going to learn how to select video-making software, how to edit videos, how to crop a video and how to export and upload videos to your preferred platform(s). And for those interested, we will also briefly discuss how to make animated videos as well.
Make a plan and generate ideas
Before becoming a video creator, you’ve got to have an idea of what you want to do. Perhaps you’ve already got an idea, or maybe several. The best thing to do is write your ideas down in a notebook or in a Word or Google document on your computer.
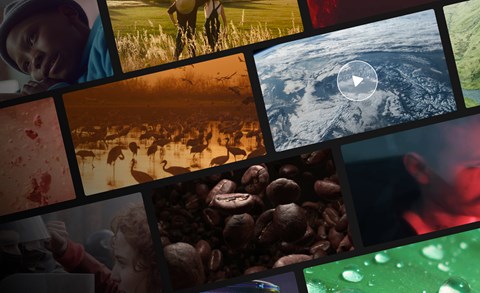
If you only have one idea and you’re very confident about it, develop that idea with notes. If you’re a visual person, you can even make a mood board—a visual document that features your project’s inspirations. It could include YouTube, Instagram, or TikTok accounts from filmmakers, visual artists, gamers, craftspeople and so on. Basically, anything that can inspire the look and storytelling style of your video series.

A mood board can help you visualize your project
If you have multiple ideas, you can follow the same route, but ultimately you will have to pick one idea over the others, at least for now. If you’re struggling to choose an idea from amongst several options, pick one that makes you feel most passionate or that you think would be the least complicated to shoot.
After you’ve solidified your idea, paring it down to its absolute essentials, it might be helpful to write a production guide. This document will help you know exactly how to make your video from start to finish, establishing continuity for each episode.
You can write your production guide in any way that you like. However, it might be helpful to write down the tools you will need (which we get into below) and how each video should look. Beyond these essentials, the production guide can include any other information that you might find helpful in creating consistent quality for your video channel. Besides learning how to write a script, this guide will help give your videos a consistent look and feel.
Hardware and software tools
When it comes to video-making tools, there are a few absolute essentials. You’re going to need some hardware and software, especially if you want to become a serious video creator.
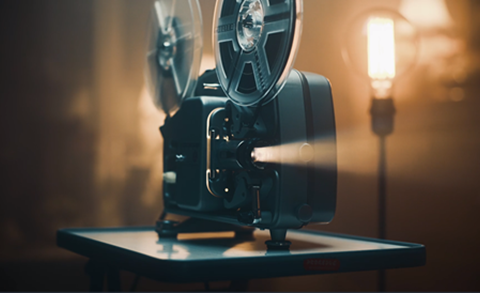
In the 1980s and 1990s, making videos demanded expensive cameras and video editing equipment. But in the last few decades, the video-making process has become truly democratized with budget-friendly cameras, software and other tools.
Cameras, lights and audio gear
Before doing anything else, think about what type of device you want to use to capture your video footage. Many YouTubers shoot videos with their smartphone or tablet cameras. And with mobile phone accessories like editing software available, these devices can streamline the video-making process, giving people an easy all-in-one-solution for making YouTube videos.
While mobile device cameras have great solutions and some cool features, like slow motion and filters, they do have their limitations. These cameras don’t have the deep exposure and focusing technology found in DSLR, mirrorless, and other professional digital video cameras.
If you’re on a budget, several DSLR and mirrorless cameras are available in affordable price ranges, both new and used. Other gears you will want to look into are lighting kits, audio recorders, and microphones.
*Click here to read a post about equipment essentials, which is also helpful in learning how to make a video.
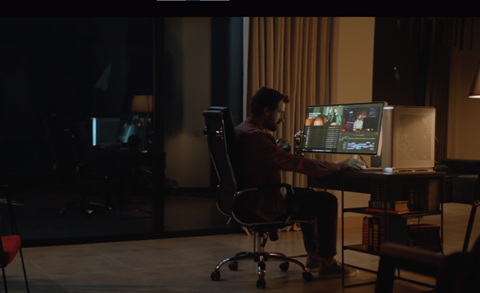
Computer and video software
To become a video creator, you will also need a computer and video-making software. Once again, there are several options—those for hobbyists on a budget and people who want to be professional videographers and YouTubers.
You will want a laptop, desktop, or even a newer tablet-laptop hybrid that can handle video editing. This means you will want one with a good CPU, graphics card, high-resolution screen and storage.
There is a range of video-making software options. Apple devices come with iMovie, which is a competent video editor. But if you want to upgrade to more powerful editing software, look at DaVinci Resolve, Final Cut Pro, and Adobe Premiere.
Once you have the tools discussed above, you will be ready to learn how to make a video.
How to write a script
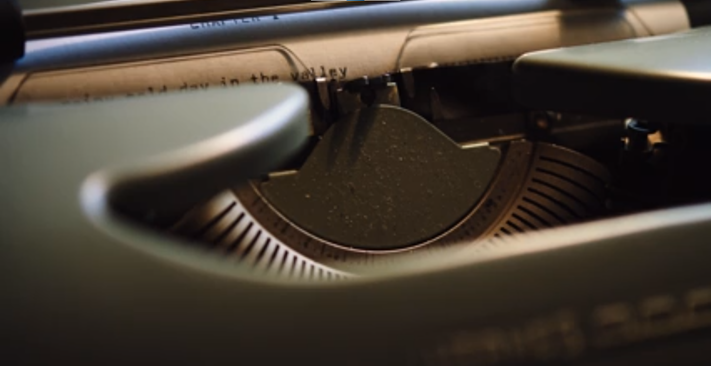
While many YouTube, Instagram and TikTok users don’t use a script, knowing how to write a screenplay can really help upgrade your video quality. Don’t worry, it’s not very difficult to learn how to write a script.
A script doesn’t need to be super complex or even incredibly formatted, like a film, TV or advertisement screenplay. Instead, think of it as an outline of what happens in your video. As far as structure, it should have a beginning, middle and end.
In the beginning, the video script should include an introduction. This can be an introduction of yourself and/or your channel and an intro to the content viewers are about to see in the video.
The middle is where the real video content will be. It’s the entire reason you decided to make a video in the first place! This part of the script can include the information you would like to communicate sequentially throughout the video. These lines can be exactly what you want to say word-for-word, or they can be simple prompts or cues that remind you what to say. And if you want to go off-script and improvise, that’s perfectly fine! The script can just be there for a guide.
For the ending, your script should wrap up the main ideas of your video. It can also include a sign-off. When you have several videos, your ending can also include a call-to-action, directing viewers to watch other videos, subscribe to your channel and receive video upload notifications.
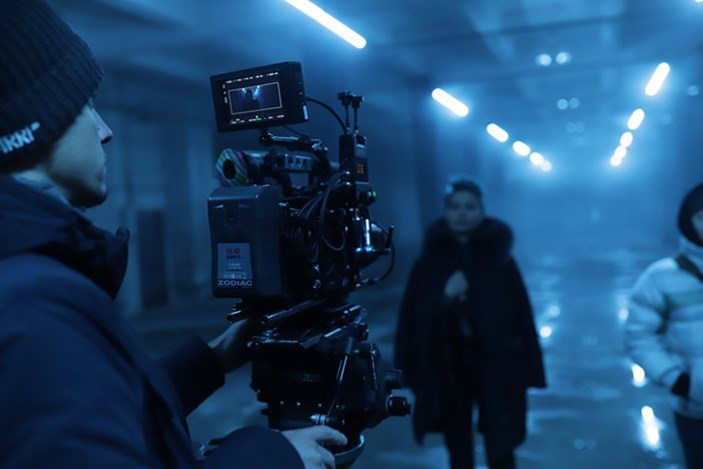
Shooting your video
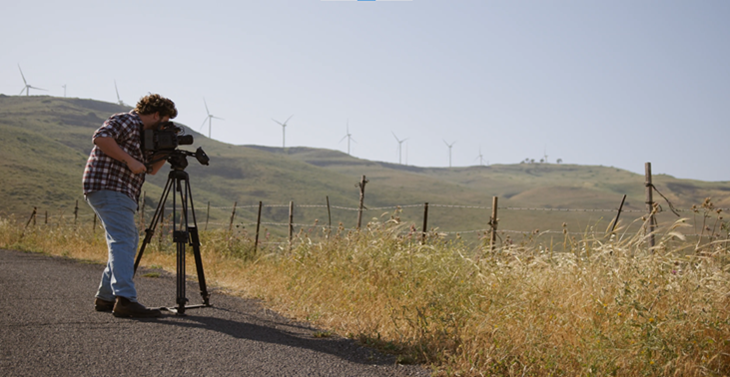
Before you shoot a video that you plan to upload, get to know your camera. Learn as many features as you can and practice getting the best angles for footage. This alone is a crucial step in learning how to make a video.
To start, it’s probably best to keep the camera stationary or “static.” This means placing the camera on some type of tripod. As you get more comfortable with your camera, you can practice camera movements, whether it’s a pan or tilt on a tripod or handheld and gimbal shots. Eventually, you can begin to incorporate them into your videos. But, again, keep it simple at first, and that means keeping the camera static. It’s one less thing to worry about.
When learning how to make a video, determine where you want to shoot footage of yourself and/or other subjects, objects and spaces. Think about the location and background. If it’s a daytime exterior, you probably won’t have to worry about bringing a lighting kit unless you really want to control the quality of light. If it’s an interior, you may or may not need a lighting kit. This will be determined by the quality of natural light that fills the room.
Once you’ve picked the location for your video, it’s time to set your camera up on a tripod. And when you hit “record” on your camera and audio recorder, just keep rolling. You don’t want to get up and hit “stop” every time you need to do a new take. Just make sure you have plenty of storage space on your camera because you don’t want to run out of space in the middle of a shoot.
How to make animated videos
For some people, animation can also be a useful skill in figuring out how to make a video. No, this doesn’t mean you have to go out and learn Disney-style cell or Pixar-esque CGI animation. It simply means that you use animation software to make infographics that move, basic cartoons and motion graphics like evolving typography, color and shapes.
There are many software products on which you can learn how to make animated videos. Many people use Adobe Illustrator and After Effects to create 2D flash animations. If you don’t want to create animations from scratch, check out something like Animaker, which allows users to make videos with pre-made characters and templates.
For 3D animation, explore something like Blender, a free and open-source software for 3D modeling and motion. Learning how to make animated videos with 3D software will take quite a bit more time and effort, but it could ultimately be highly beneficial—not just for your personal videos, but for finding work.
As far as the overall production required for animated videos, follow the steps detailed above. Obviously, you won’t have to worry about cameras and lights. However, you may still want to have audio recording gear, so you record voice work. And if you need music and sound effects, you can check out Artlist’s royalty-free music and SFX.
Once you’ve created your animations, you will need to export them into video-making software. In the next section, we will get into how to edit videos.
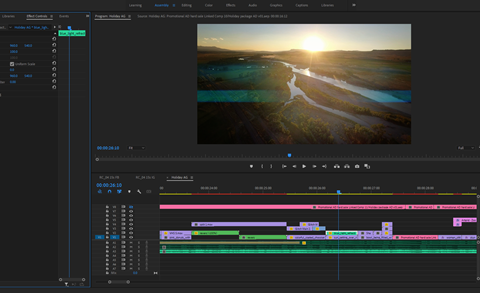
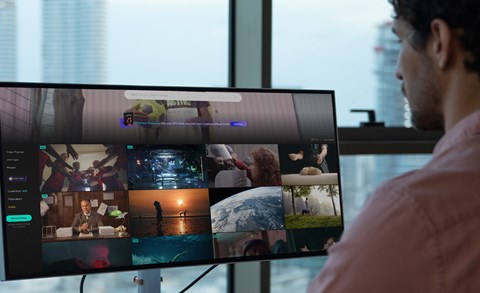
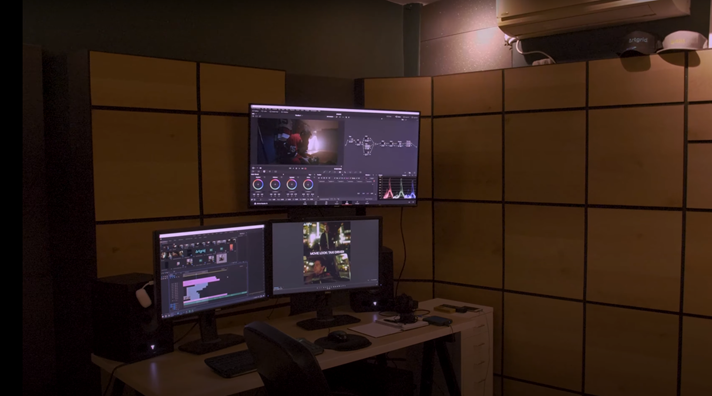
How to edit videos
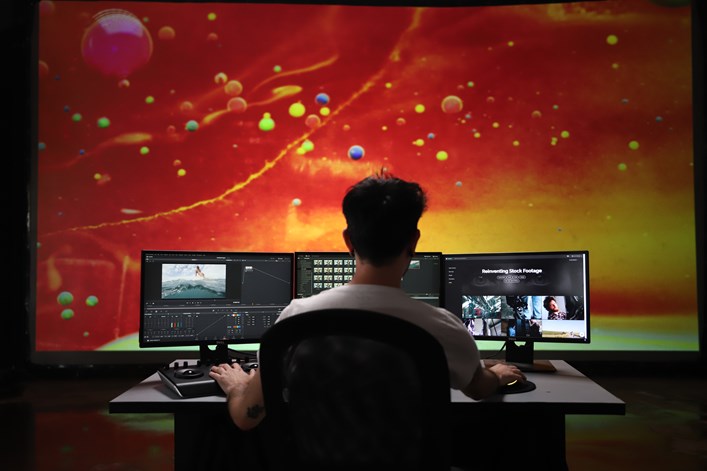
After you’ve shot your video footage or created an animation or motion graphics, it’s time to edit. There are several important steps in learning how to make edits in your video-making software.
Cameras and mobile devices record in a variety of formats. Apple devices record video in the .MOV format, while Android devices can record in several formats, including H. 264 AVC and MP4. Most DSLR and mirrorless cameras can record video in the RAW format, which are large, uncompressed files. Whatever the format, the footage must be uploaded into video editing software.
Once in your video editor, it’s time to cut out the unnecessary footage. This can include bad takes of monologue or dialogue, bad lighting, poor audio, etc. If you shot one continuous take, then you will need to cut out any unneeded footage. If it’s a 25-minute take, for instance, but you want a 3-minute video, you will need to find the best clips. Then you will need to make sure those clips blend together nicely.
For instance, if the only shot is of you at a desk doing a Halloween makeup tutorial, it’s okay to have cuts of your best materials. Just make sure that the cuts aren’t jarring. The cuts must follow your video script or outline and unfold sequentially. The same is true for videos that feature a variety of different shots and locations and animated videos. Adding video transitions between cuts like wipes, fades or even glitches can help make the clips gel.
Learning how to edit videos isn’t just about visuals. Audio recordings, music, and sound effects will also need to be edited to match the video.
With audio recordings of monologues, dialogues or natural sounds, it’s important to remove any pops, clicks and other noise. Again, when recording audio, it’s important to take time at the end of the film to record audio room tone and/or exterior ambient sound. This is the audio used to transition between different audio clips so that viewers don’t hear sudden fluctuations in audio. And, of course, make sure the audio levels don’t peak and distort.
Once you’ve smoothed out the audio recording, you can incorporate music and sound effects into the audio mix. This isn’t absolutely necessary, but these types of audio can give your video a more polished or professional vibe.
While practicing how to make edits, work on making all of the video and audio flow together from beginning to end. Again, your video script will be a handy guide during the editorial process!
How to crop a video
During the video editing process, you might want to reframe your moving images or give them a different aspect ratio. This is called cropping.
To learn how to crop a video, you will need to familiarize yourself with cropping features in your editing software. If you want to crop videos by hand, your video editing software will likely have a tool that allows you to manually reframe your moving images. Similarly, you can type in the values (numbers) for your desired frame size’s vertical and horizontal values.
Video editing software will also have a few different aspect ratio presets. In Adobe Premiere, for instance, you can quickly set it to a square frame (or aspect ratio) designed for social media channels like Instagram and TikTok. You will also be able to reframe your video to widescreen, like what is seen in Hollywood movies and TV series.
Your editing software will also likely have a crop tool for picture-in-picture, where you can place one video clip inside another to show two or more pieces of footage at the same time. Similarly, you could do a split-screen effect, which will require using other tools to reframe and reposition subjects, objects or landscapes in each clip.
To go more in-depth in learning how to crop a video, read and watch tutorials for your editing software.
Exporting + uploading videos
Once the editing is done, the final step in the video-making process is to export your video in the desired format. Before exporting, be sure to check which formats are supported by the video platform you plan to use.
YouTube and Vimeo support various video formats, including .MOV, MPEG4, AVI, and others. Instagram accepts MP4 or MOV formats, while Tik Tok supports MP4, MPEG, MOV, and AVI files.
Before exporting, do some research into your desired video resolution. Video editing software will allow you to select resolution type (number of pixels). When uploading to video platforms, it’s helpful to know that Vimeo is known for allowing high-resolution uploads. YouTube also accepts high-resolution video, but lower resolution videos load faster, which is something to keep in mind.
A brief recap
Remember, try to have fun learning to make videos. This should be your mindset whether you simply aim to learn some video skills in general or if your desire is to become a YouTuber. As we said earlier, it takes some time and practice, but these efforts will quickly be rewarded when you make that first video!
Remember, it will be beneficial to write a production guide and learn how to write a script. These can be thought of as organizational tools to help you shoot good videos and ensure a consistent look and feel across them. They will also help in learning how to edit videos efficiently, with an eye toward quality and style. The same will be true in your journey of learning how to animate videos.
At the bare minimum, you’re going to need a camera, audio recorder, microphone, and video editing software. You can certainly use a smartphone’s camera and audio features for videos. Still, eventually, you will probably want to upgrade so you have more control over visuals and sound.
Once you have this gear, get to know it inside and out. With some regular practice and play, you will be making videos in no time!
Author bio
DJ Pangburn is a New York-based journalist, videographer, and fiction writer, with bylines at Vice, Fast Company, Dazed and Confused, and other publications. DJ records ambient techno and IDM under the name Holoscene.