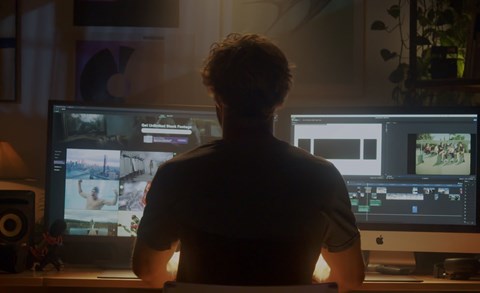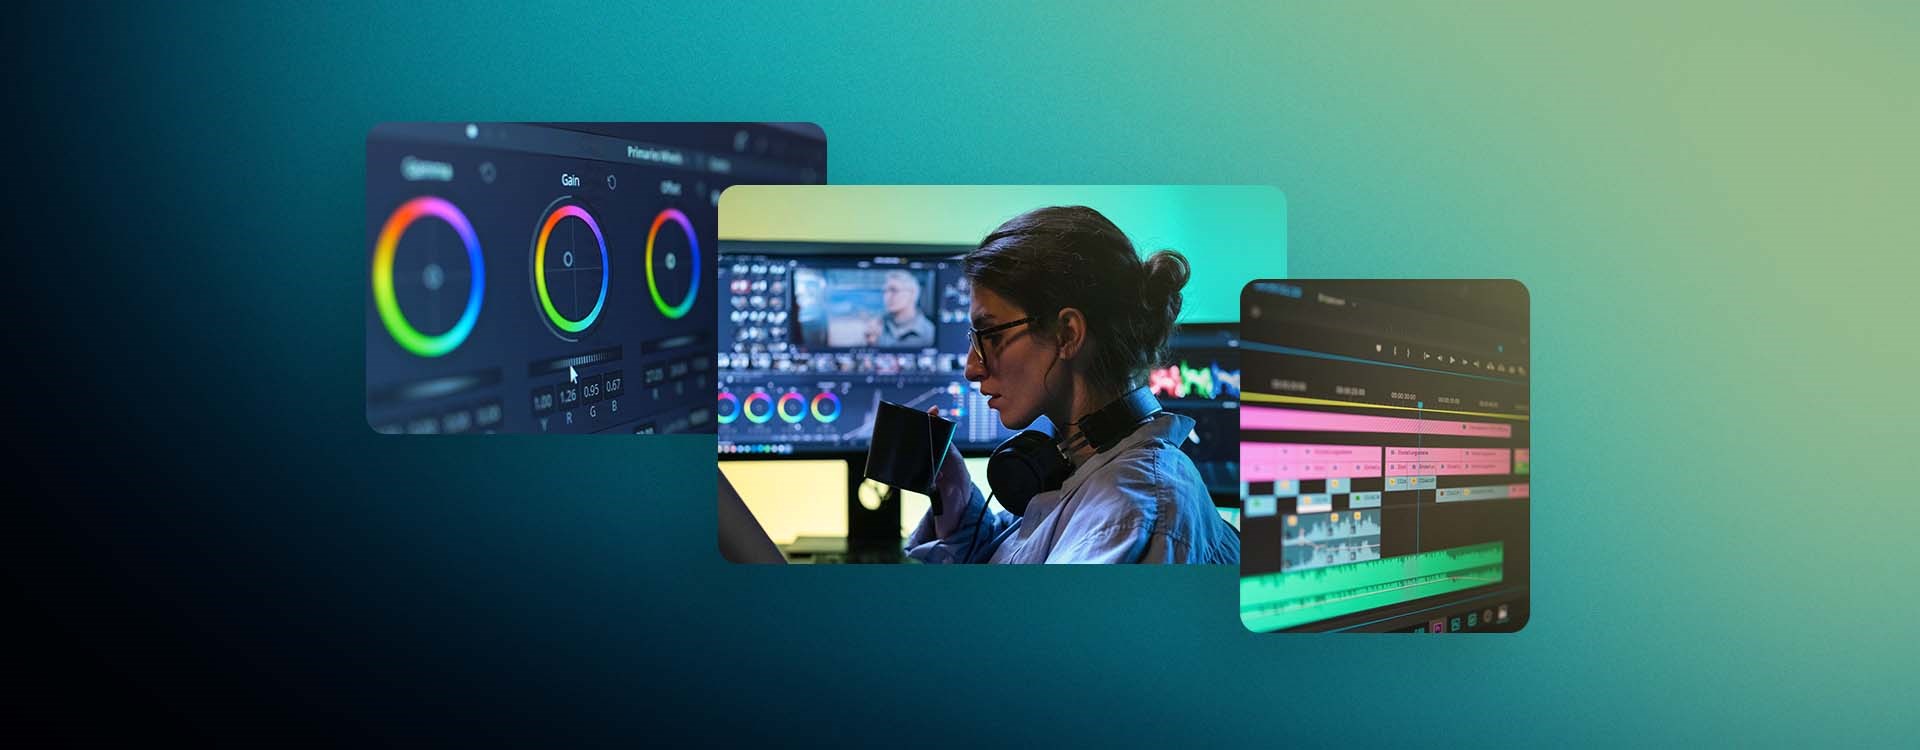
For some people, video editing is a creative, immersive and totally satisfying experience. While for others, it is tedious, time-consuming and often infuriating. Is the difference between these people just a matter of personality? Temperament?
Perhaps, but my guess is the main difference lies in workflow.
When done well, a strong post-production workflow will maximize your time spent actually editing and directly improving the look and flow of your video. On the other hand, a poor workflow will have you spend that time trying to solve unexpected problems, undo and readjust work you have already done. And it often involves repeating the same actions multiple times unnecessarily. So let's discuss the 6 stages of a productive (and enjoyable) post-production workflow.
1. Shoot/source footage with the edit in mind
An obvious first step, I know, but this workflow is here to help you achieve a smooth, efficient editing process. Part of that involves avoiding unnecessary pauses mid-edit to find or shoot more footage. With this in mind, let's tackle shooting footage and sourcing footage separately.
Shooting footage
You might have heard of the phrase "shooting for the edit." It basically refers to any time you make decisions in the filming process because of decisions you intend to make in the editing stage. One of the best examples of this would be shooting whip pan shots knowing that you want to merge them together in the edit for a convincing whip pan transition. However, the same principle applies to shooting footage with any particular tone, pace, energy or even song in mind. For example, will your edit be slow and subdued or fast-paced and snappy? Depending on your answer, you may wish to minimize or add camera movement, shoot in slow motion or real-time, or make any number of artistic calls while on a shoot.
Sourcing footage
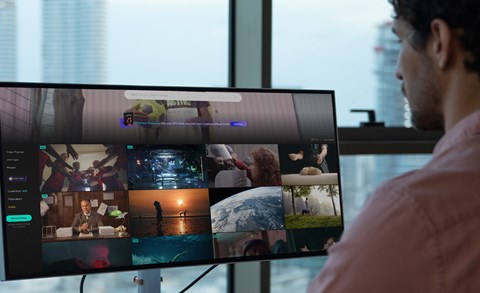
In many cases, and for different reasons depending on the project, your edit could benefit from royalty-free stock footage. So when it comes to your editing workflow, it is again recommended to source the stock footage you need as early in the process as possible. With a library as large as Artgrid's, the filter system and unlimited downloads license come in very handy. For example, you may know that you need a shot of a woman reading a book but don't yet know what shot will work best in your edit. With Artgrid, you can filter by a variety of criteria such as the number of people, gender and keywords, like "1," "female" and "reading."

From this point, you can download as many clips as you think could work. Or you can choose to add more filters to your search if you have something more specific in mind (e.g., day or night, interior or exterior etc.).
2. Storage and file management
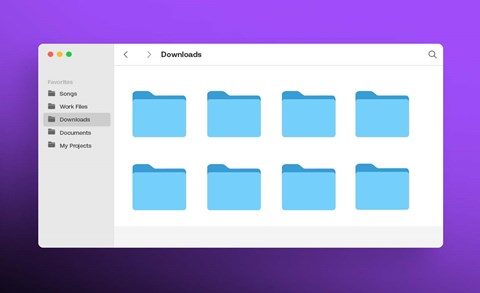
We recently wrote a whole blog post dedicated to organizing video files, which is a hugely important part of a pro editing workflow, but here's the basic idea. It involves grouping together all your assets of different kinds (footage, music, sound effects, etc.) into their own folders before editing and creating folders to house other elements of your edit, such as project files and exports.
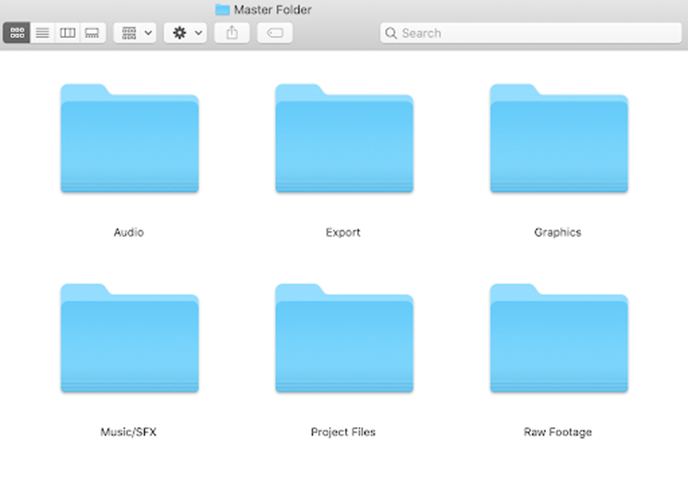
Doing so protects you against possible media issues and allows your project to be transportable and a breeze to back up since all your assets are saved within one master folder. You also want to make sure, before beginning your edit, that your storage drives are up to the task. Do you have enough space on your HDD or SSD? Will your storage also have the read and write speeds to keep up with you?
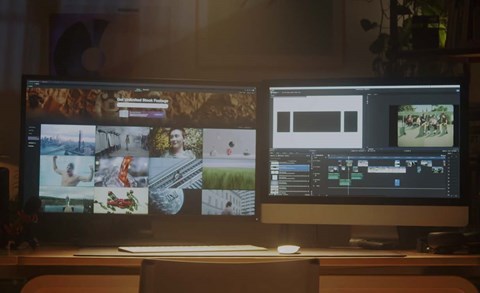
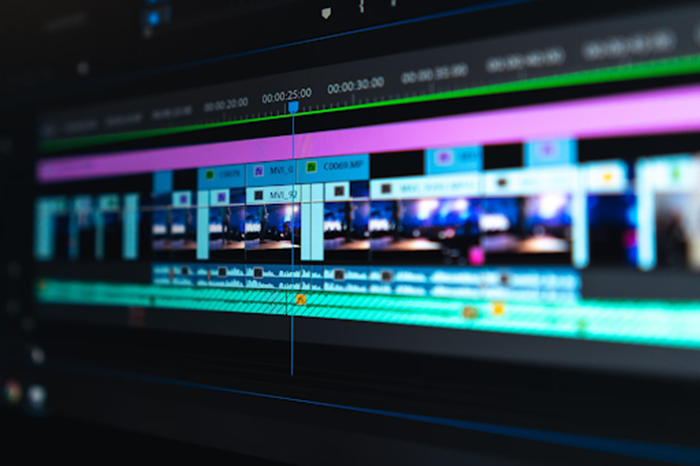
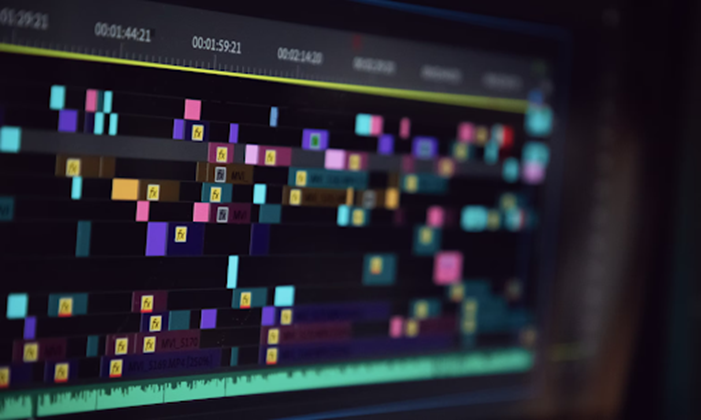
3. Picture editing
Already we're at the fun stuff! Picture editing is the main event; it's the arrangement, trimming and other manipulation of various individual shots to make a new whole. We could spend a very long time talking about this stage, so I'll focus just on what is most relevant to your workflow.
Clicking and dragging your file structure
You should enter into this stage with the same mindset as you've had so far; focus on organization and categorization so that editing in your timeline is as uninterrupted as possible. Usually, clicking and dragging your Master Folder from the organization stage into your media browser is the best way to maintain the file structure you have already established.
Rating/rejecting clips
Depending on your NLE (Non-Linear Editing system, e.g., Premiere Pro, Final Cut Pro X, DaVinci Resolve, etc.), there will be different methods of labeling clips. Still, it can speed up picture editing even further to review footage within your program and either mark clips as favorites or reject them. For example, in Final Cut Pro X, the "F" key will mark as favorite, and the delete key will mark as rejected. At this point, you can then filter your media browser to show only favorited clips (though your rejected ones are kept if you need them to fall back on).
Keyboard shortcuts
Once you're happy with your organization, you can begin bringing clips into your timeline for assembly. These decisions are yours to creatively make, but to keep you in your flow, it could be helpful to familiarize yourself with your NLE's keyboard shortcuts. It will minimize the time it takes to execute particular actions. Each NLE has its own system of shortcuts, but most also allow you to customize your own.

Some of the most helpful and universal shortcuts are "J," "K" and "L," which enable you to rewind, pause and play your footage, respectively (double-tapping "J" and "L" will double the speed of your playback in either direction). The up and down arrow keys will let you jump to the next edit points on either side of the playhead. It will also be helpful to learn your NLE's shortcut for the blade/cut tool ("B" on Final Cut Pro X and DaVinci Resolve, "C" on Premiere Pro) to allow you to quickly cut at the exact right frame.
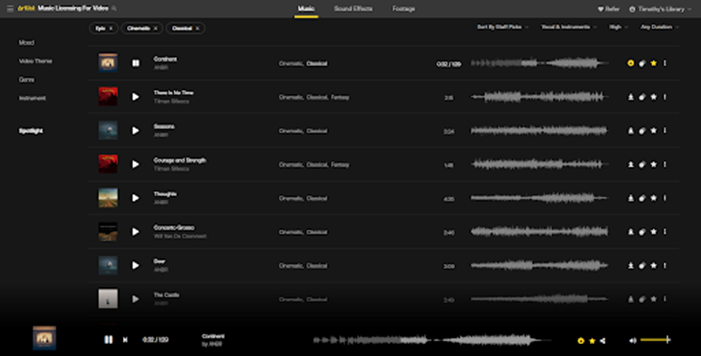
Editing with music
It should be said at this point that in the context of film editing (as opposed to video), you would typically bring in music after picture editing to complement the cuts you have already made. However, in the video world, picking your song from the beginning of your edit can be helpful as you may wish to cut in the same rhythm, tempo and tone of the song. As was the case with searching for stock footage on Artgrid, you can take a similar approach when looking for royalty-free music on Artlist. You can search for songs based on all sorts of filters, but filtering by tempo, genre or mood may prove especially useful if you already have an idea of your edit in mind.
4. Sound design and mixing
The next stage involves bringing in foley, other sound effects and, if you haven't already, music. We recommend bringing in SFX after picture editing to save you wasting time and effort in sourcing and mixing sounds that don't end up being used in your final cut. Once your sounds are in, it's time to mix your audio. In essence, this refers to balancing your various audio assets (dialogue, foley, music etc.) so that the right sounds are prioritized at the right points throughout your edit.
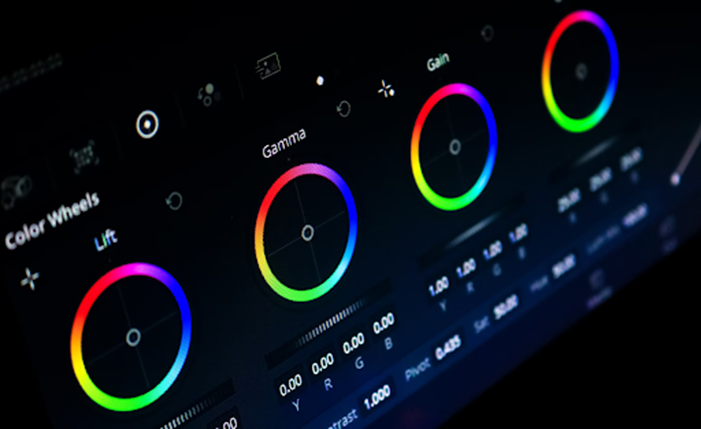
5. Color correction and grading
If you are onto color correction and grading, you know you're nearly finished with your masterpiece! Like sound design, it will save you time, effort and trouble to keep this stage until after you have a complete edit. The main goal of color correction and grading (apart from adding your own aesthetic flair to your videos) is to maintain a consistent look across your entire project. Your edit will feel like a cohesive whole. For this reason, waiting until the edit is complete will allow you to manipulate only the footage you will use and make those changes to your entire project at once. It will save you hours and help you achieve consistency.
The first step is to color correct your footage, which involves adjusting exposure, contrast, saturation and hue, so the clips in your timeline match each other. This gives your footage a uniform look so that your color grade impacts all your clips in a similar way.
When this is done, you can simply add an adjustment layer over your entire project and apply your color grade to this. It means the effect of the grade goes over the whole project, and you don't need to adjust each clip independently. In Final Cut Pro X, you may need to download an adjustment layer title online, while on Premiere Pro and DaVinci Resolve, they are built-in. As for the grade itself, LUTs are powerful and hugely beneficial tools. They apply a predesigned "look" over your footage which you can tweak yourself afterward.
6. Export with a destination in mind
Congratulations, you have followed a pro workflow and are now ready to export! At this stage, you should export your clips with your final destination in mind. Are your clips going straight to YouTube? Do you intend to screen your edit for an audience? Maybe you just need to send a draft to a client? All of these decisions will dictate the ideal codec, bitrate and video resolution to export in. In short, however, H.264 is a very popular codec as it compresses your video into a manageable size without sacrificing much in terms of image quality. This is perfect for YouTube or other online platforms.
Summing up
Following these 6 straightforward steps could transform your editing experience. You'll spend a lot less time bouncing in and out of your NLE and backtracking on work you've already done. Instead, you'll enjoy a smooth, speedy workflow that supports your creativity and video editing style rather than hindering it. Good luck!
About Tim
Tim McGlinchey is a lecturer in Northern Ireland's leading film school, where he specializes in teaching cinematography, editing and scriptwriting. His professional background is in commercial videography and narrative filmmaking, which he still engages in heavily by writing and directing short films and contributing stock footage to Artgrid.io.