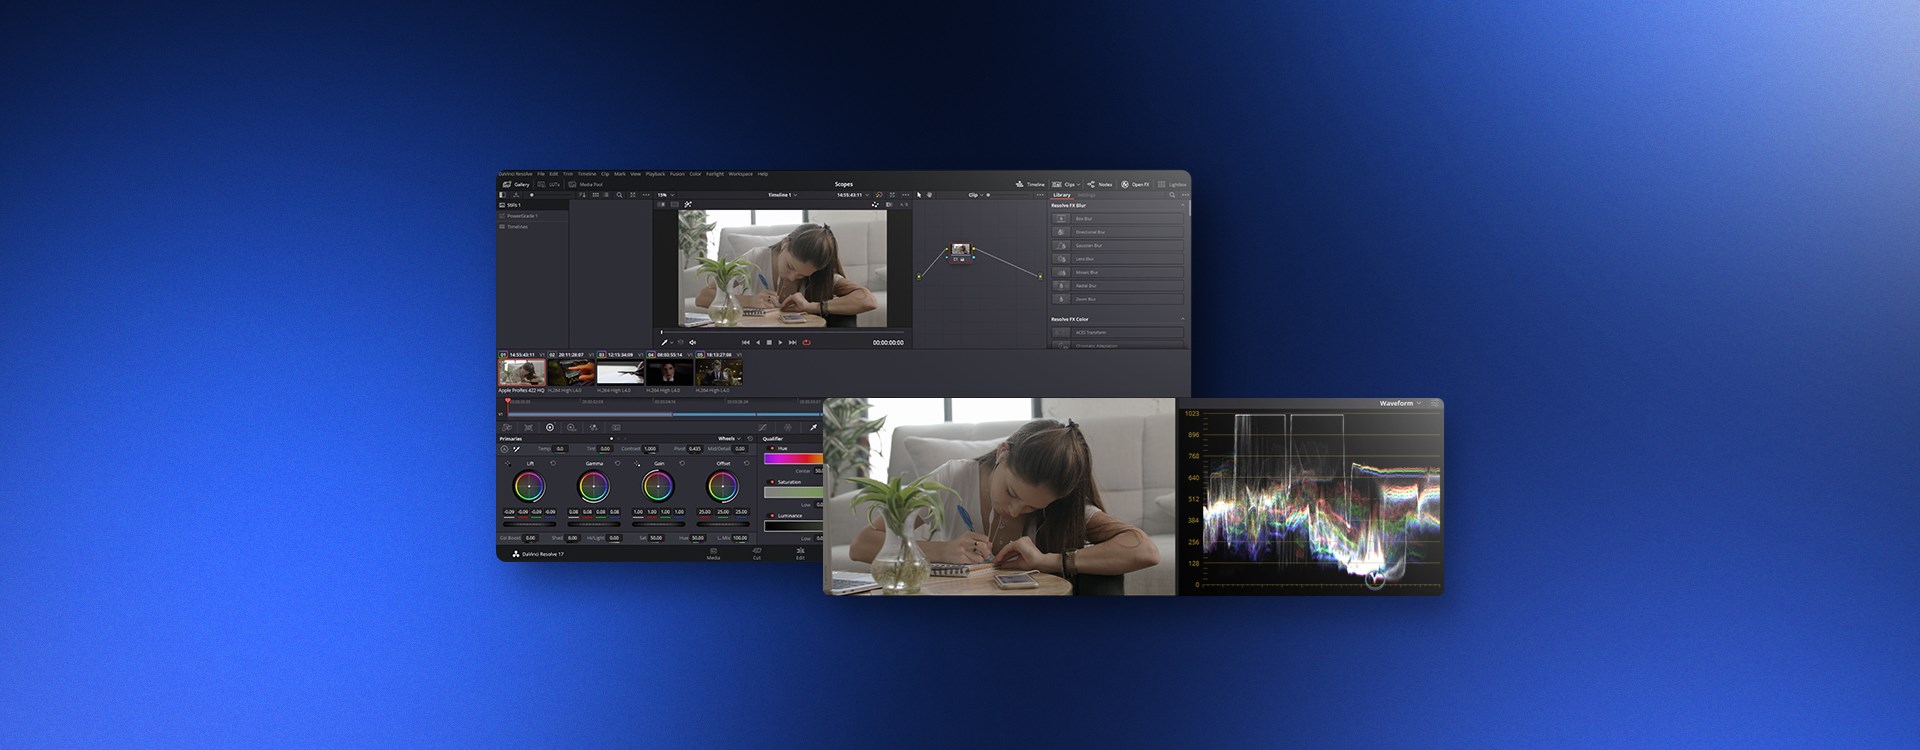
Trust your scopes, or so the saying goes. Scopes help you analyze your image, providing a basis for color corrections and monitoring the results. The scopes guide you to fix white balance issues, get the correct exposure, check your saturation, and even check details like skin tone. DaVinci Resolve’s scopes are very adaptable and detailed so let’s learn how to use them, how to read them and what they are for.
Using scopes
You will find DaVinci Resolve’s scopes living on the color page in the bottom right corner. If they are not displayed, just click on the small graph icon. To make viewing easier, just click on the expand button. The scopes will pop up into a separate window that you can move anywhere on the screen or even use on a second monitor.
Whether you expand the scopes or leave them in place, you have 4 main ones to choose from: waveform, parade, vectorscope and histogram. Select which one is displayed with the dropdown menu, and when expanded, you can choose how many and which ones are displayed.
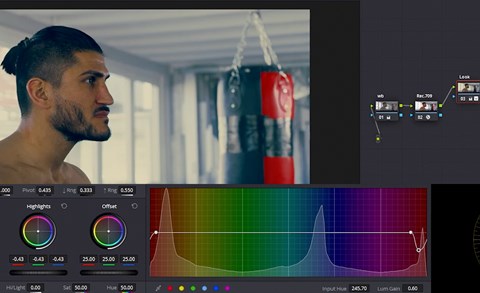
Each scope also has a menu where you can adjust how it is displayed as well as setting reference levels. A handy option to select in the extended menu (...) is the “Display Qualifier Focus” option. This highlights the area you move the qualifier over in the scopes. It is really helpful to identify certain parts of your image in the scopes. The extended menu also lets you select the quality of your scopes, which depends mainly on how good your GPU is. Setting it to auto will make sure it balances performance with quality.
Now let’s look at each of DaVinci Resolve’s video scopes in more detail so we can learn how to read each one and how to use the scopes for color correction and grading in DaVinci Resolve.
Waveform
The waveform video scope represents the luminance (brightness) of your image—the brightest parts at the top and the darkest parts at the bottom. From left to right, it represents the pixels in your image.
Let’s look at the example image below to learn how to read the waveform scope. As you can see, the image looks flat, washed out. If you look at the waveform, you will see it is very compressed with very little of the image near black and only 2 spikes up high with the rest in the middle.

If we use the qualifier and move it over the white windows (with Display Qualifier Focus On), we see that the windows are represented by the 2 flat white lines at the very top. This means the windows were overexposed, and the values are clipped.
Now let’s move to a dark part like the pants. These look like they should probably be near black, but they are well above the black level. If we lower the dark parts using the lift wheel or with a curves adjustment, we add contrast and move the dark parts closer to black without clipping. The mid-tones are still a bit dark, so we can raise those using the gamma wheel without overexposing the windows. Now we have a much more balanced exposure for further grading. But what about white balance?

Parade (RGB)
This brings us to the Parade, aka RGB Parade. It is essentially 3 waveforms representing the luminance of the red, green and blue channels. You read the parade video scope the same as the waveform, but now we can look at the balance between colors to check for a color cast and correct the white balance.
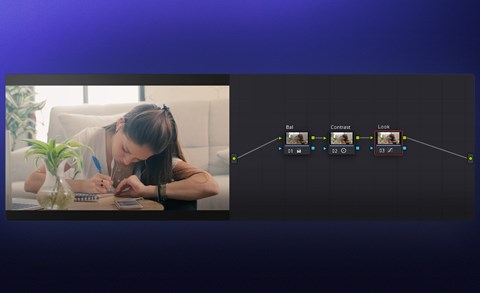
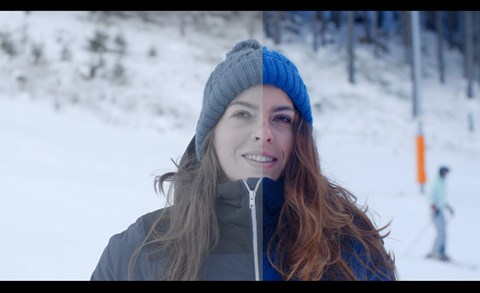
What does white balance mean? Well, it simply means things that are supposed to be white in your image are white; things that are neutral grey are neutral grey which should result in a natural image. It is important to get this correct first, and then you may add a color shift later as part of a color grade as a stylistic choice.
Let’s look at the image below. It is dark, with some light shining in from the back. Context is important here, and we have a shirt that is most likely white. We can now use the qualifier, with its RGB values enabled to check if there is a color cast on the white shirt. When you look at where the values lie on the parade, it is clear that blue is dominant, which is expected for a night scene. Since this is a color-graded clip from the vast Artgrid library, it is most likely a look that was created intentionally. However, if we color correct for the white shirt, we have a much warmer image that looks more like a golden sunset or sunrise. But what about the skin tone? Is it too warm?


Vectorscope
The vectorscope shows hue and saturation on a circular graph where the colors (hues) are indicated on the outside in the same way as the color wheels we use to make corrections in DaVinci Resolve. How far the graph extends from the center indicates the amount of saturation.

The useful skin tone indicator, which you can turn on in the scope’s menu, is great to ensure the skin tones in your image are correct. Ideally, you want them on or just to the right of the line. A handy trick is to use a mask to isolate just the skin tones, then turn on the highlights only, and you will just see the skin tones on the vectorscope. Next, turn on 2x zoom in the video scope menu for a detailed check. As you can see, it’s close but maybe a tad warm.
Histogram
The final video scope we will look at in DaVinci Resolve is the histogram. The histogram displays luminance (brightness) from left to right for the red, blue and green channels in relation to the number of pixels that have that value.

When we look at the image above, there is white paper, a light-colored desk, and black scissors with very little in between. On the right of the graph, we see that the white paper is possibly not bright enough, so we can bring that closer to white. This will brighten the image up. The scissor handles look dark, so we expect those to be close to black. But the back wall leaves a question mark.
What should we do to this image, if anything? Let your scopes guide you, and trust in them. Monitors and your eyes aren’t good for judgment. Your monitor may have its own color cast, and your eyes adapt to what you look at, so trust your scopes.
About Johan
Johan Kok is passionate about visual story telling and loves the outdoors. He runs his own small video production business in Auckland, New Zealand doing mostly corporate and event work. When he has time he gets involved in local short films and other productions as well as running a small outdoor YouTube channel on the side.
