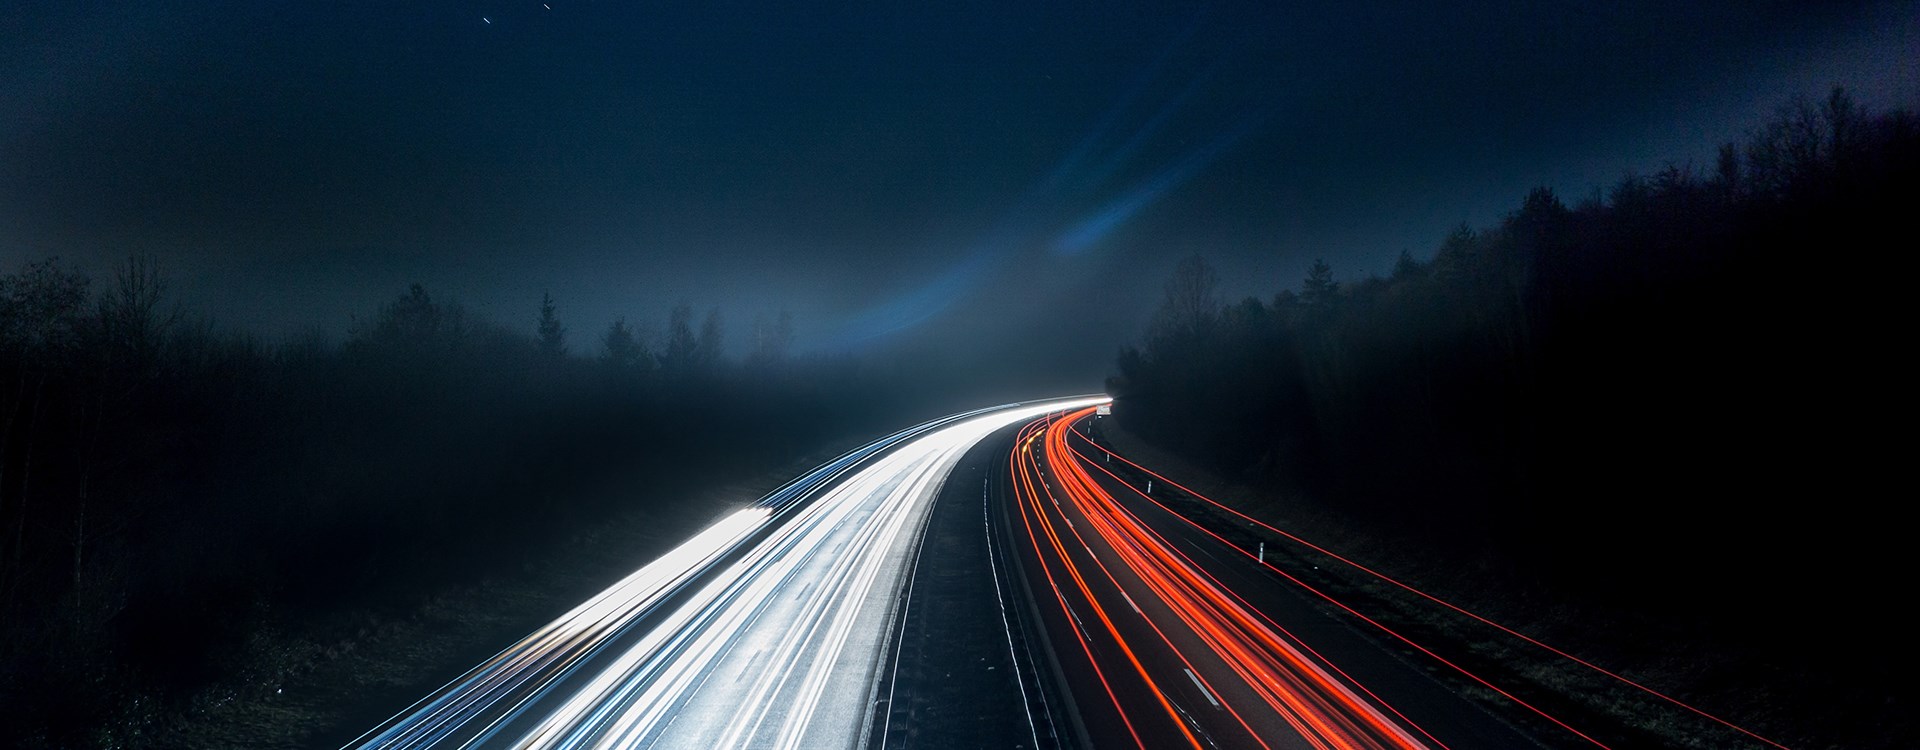
Time-lapse video is so ubiquitous now, you can do it on your phone. Even so, when done right, it can add production value to a film, commercial or travel piece. The purpose of a time-lapse video is to capture movement of a subject or a scene over time then speed it up in post. Essentially, your camera shoots hundreds of still photographs, stitches them together, and voila! you have a time-lapse video. You’ve captured hours in seconds.
Popular time-lapse subjects include landscapes such as the Northern Lights, the rising or setting sun, movement of stars or a person or people in the process of something, such as painting a mural or riding a rollercoaster (technically, when the camera moves while recording a time-lapse, the process is called a hyperlapse).
Read on to learn how to make a time-lapse video!
Gear recommendations
The essential gear for creating a time-lapse video is a camera, tripod, and intervalometer.
The best camera for time-lapse videos
First, let’s talk about cameras. Is there a best camera for time-lapse videos? Because a time-lapse video is made up of hundreds or even thousands of still images, prioritize photo quality over video quality in your selection of camera. Depending on the output (cinema, digital, or social media), aim for the highest quality image capture. This is measured in many ways, primarily in megapixel size. For example, though the Sony a7SIII is a superior video camera to Sony a7RIII, the RIII takes images up to 42 MP, which is higher than the SIII’s 12.9 MP capability. The more megapixels (MP), the more data and the larger the image size.
This often comes down to a debate between mirrorless or DSLR cameras, both of which serve a purpose. Again, ask yourself what the minimum quality requirement is for your particular publishing platform then choose a camera accordingly.
What is an intervalometer?
Second, let’s talk about intervalometers. Your iPhone has one built-in, as do many point-and-shoot cameras as well as mirrorless and DSLRs. It sounds complicated, but an intervalometer simply tells your camera how many photos to shoot at a certain interval. It measures intervals between photos, from one second to 59, for example. A built-in intervalometer will shoot the number of images you’ve specified then stop once it reaches that limit. You can then download that set of images or autogenerate a time-lapse movie in-camera.
The intervalometer built into your iPhone shoots automatically and does not allow the user to set intervals or duration. For seasoned time-lapsers, this isn’t enough control. So, the time-lapse iPhone feature simply isn’t enough unless you have no other camera on you.
This is where an external intervalometer comes in. An external intervalometer is a device that plugs into a camera and controls how often, how long, and how many shots are taken.
Stabilization
As for other gear, you will definitely need stabilization most likely in the form of a video tripod. Consider a tripod that flips vertically to give you the option to shoot in portrait for social media output. Also, consider your environment. If you are shooting in windy conditions, opt for a heavier tripod that will stay put.
You may also consider using a gimbal if you want to create hyperlapse videos, which are just videos with dropped frames sped up. This is a bit of a cheat if you don’t have time to take a proper hyperlapse.
Before we get to settings, let’s talk about recommended gear so you can capture those epic time lapses you’ve seen everywhere in stock video.
Recommended time-lapse cameras
Action Camera
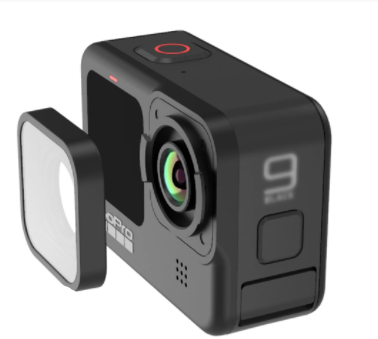
image via https://gopro.com/en/us/
GoPro is responsible for delivering time-lapse photography to the world. It’s easy to use, tiny and portable and quick to set up. It’s also waterproof and stabilized. The GoPro Hero9 Black has enhanced settings for Night Lapse video and photo modes and its innovative TimeWarp speed ramping feature and Touch Zoom, which allows you to use a slider to zoom in closer to the action and lock in on it. And like more expensive DSLRs, you can save your photos as RAW files and export them to a pro editing software such as Adobe Lightroom or Photoshop.
DSLR
Sony a7II
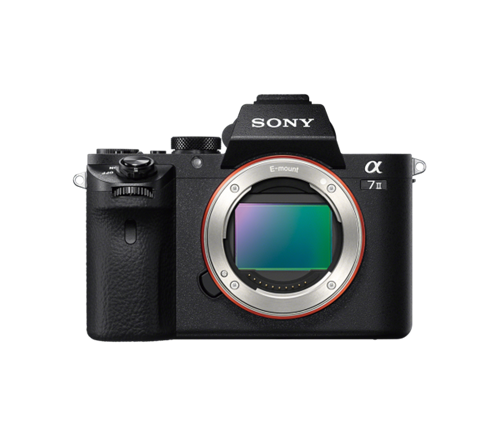
image via: https://electronics.sony.com/
With silent shooting a very light payload, you can shoot time-lapse videos inconspicuously with the Sony A7II. A mid-price consumer favorite, the A7II works very well in low light with a maximum ISO of 25600. Images can be captured up to 24.3MP resolution, which is more than enough for digital or social media output. With the a7II, you get a full-frame camera at less than one-third the price of the higher-end Sony mirrorless cams.
Drone
DJI Mavic 2 Pro
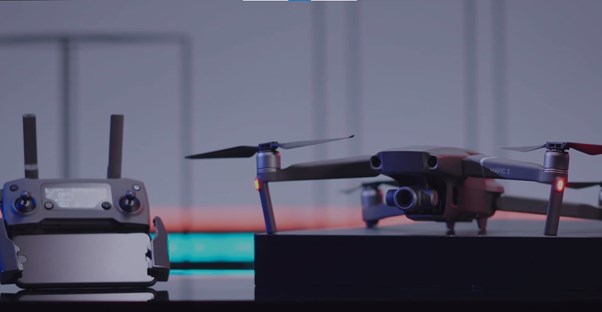
Image via https://www.dji.com/
Don’t forget all the possibilities of shooting timelapses (and hyperlapses) with drones! The DJI Mavic 2 Pro has several timelapse settings and allows you to navigate around a subject in a totally unique way. The timelapse and hyperlapse interface is relatively easy to use. You can even plan waypoints (points A and B) and program the drone to shoot and fly and the touch of a button.
Recommended intervalometer for timelapse videos
Pixel TW-283
![]()
image via https://www.pixelhk.com/
The Pixel TW-283 is the best all-around intervalometer for Canon, Nikon or Sony cameras. It comes with a handy programmable remote.
Different models work for different cameras:
- Canon: Compatible with Canon’s most popular DSLR and Mirrorless cameras like the 5D and 6D models.
- Nikon: Compatible for most popular Nikon DSLRs like the D850 and D750, as well as the newer Nikon Mirrorless models the Z6 & Z6 II and Z7 & Z7 II.
- Sony: For popular Sony Mirrorless cameras, like the A7S and A7RIV, etc.
It has several modes, commonly offered in intervalometers, including:
- Single-Click Mode: For operating the camera remotely and capturing one shot at a time. Note, half-pressing the button on the transmitter works the same as a half-press on the camera and activates auto-focus.
- Continuous Mode: Press the button down continuously to shoot until you release it. This works for quick capture of a moving subject.
- Bulb Mode: Take longer exposures by pressing the button to start and then once more to stop.
- Delay Shooting Mode: The delay can be anywhere from 1 to 59 seconds, up to 99 shots. This setting is great for astrophotography.
- Timer-Schedule Mode: This is similar to Delay Shooting Mode, but allows you to shoot with programmed settings
Best camera settings
Your camera settings depend entirely on your subject and your environment. As discussed, time-lapse settings include the number of shots and interval of shooting. If your subject is fast-moving, consider shooting in 1-3 second intervals. If your subject will be shot over a long period of time such as an hour or more, your intervals can be more spread out, say 5-10 seconds apart.
You’ll also need to set the AEL or auto exposure lock. Locking your exposure keeps the camera from continuously adjusting exposure. If you don’t lock it, your images may vary and not look uniform. However, if you are shooting a sunset, do not lock exposure. Let the camera adjust as the light fades.
For those who want full control over images, choose RAW file output, which allows you to tweak settings such as shadows and highlights in Adobe Lightroom or Photoshop and do real time-lapse video editing. Choose compressed RAW files if you want smaller file sizes; uncompressed for the highest image quality.
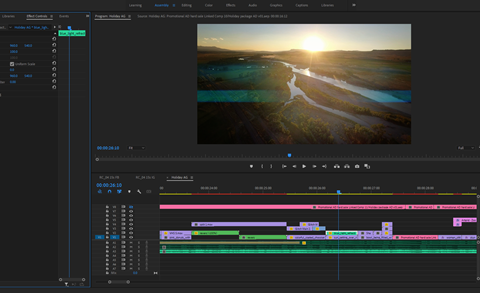
Remember, most time-lapse cameras give you the option to process the stills in-camera and auto-generate a video. With this, you get an instant video but no control over individual frames in it. If you need to delete a frame or tweak settings, you will need to stitch the images together yourself in an editing application such as Adobe Premiere or Final Cut Pro X.
Time-lapse video editing doesn’t have to be hard, but it can be tedious. It’s recommended you use Adobe Lightroom Classic to edit your images. It gives you the option to apply settings to multiple images all at once and is easy to export from.
Best ideas for creative time-lapse videos
The best time-lapse videos are often the ones you plan in advance, taking into consideration lighting, subject, and action. Drone hyperlapses over cities or mountains against a changing sky are beautiful. Or perhaps a person moving through an ancient piece of architecture while the camera follows from behind.
Dos and don'ts
No guide would be complete without a few warnings.
First of all, because timelapse videos are entirely made up of stills, producing shake-free images is key. That means for the sharpest images you have to consider how to fully stabilize your gear.
Secondly, choose a subject and stick with it. The whole point of a time-lapse video is to follow a subject. If the camera constantly changes angle or focus, the video will look amateurish and confusing. Lock focus and only move the camera or angle consciously, such as on a gimbal or slider.
Third, there is a way to “cheat” and make a timelapse without shooting a single still frame. Converting video to time-lapse actually isn’t that hard. Simply drop every other frame, add sharpening, and speed up the video. It will look like hundreds of stills instead of video.
Conclusion
Now you know how to capture, export, and edit a time-lapse video. It’s time to get out there and start making a video! Browse through Artgrid’s royalty-free stock footage to get inspired.