Hello everyone! In this tutorial, we’re going to explore the 3 main mistakes we see in color grading video. We’ll go over the mistakes, why you should avoid them, and how best to fix the mistakes in real-time.
Not prepping your footage
The first mistake is when content creators don’t prep their footage correctly. What does that mean? Typically, that will mean they haven’t balanced the image correctly. Or they haven’t done the right color space conversion for the footage, or they’ve done it the wrong way. We’re going to show you how to do both tasks and what you should avoid.
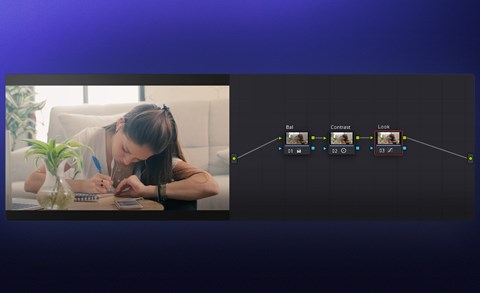
Most filmmakers mistakenly begin messing around with individual nodes, messing with the gain or trying to give it a look too early. This is a recipe for disaster. You want to make sure your image is balanced in terms of white balance and tint, and that you have a good conversion, so you’ll create whatever image you’d like. These actions are part of the color correction process.
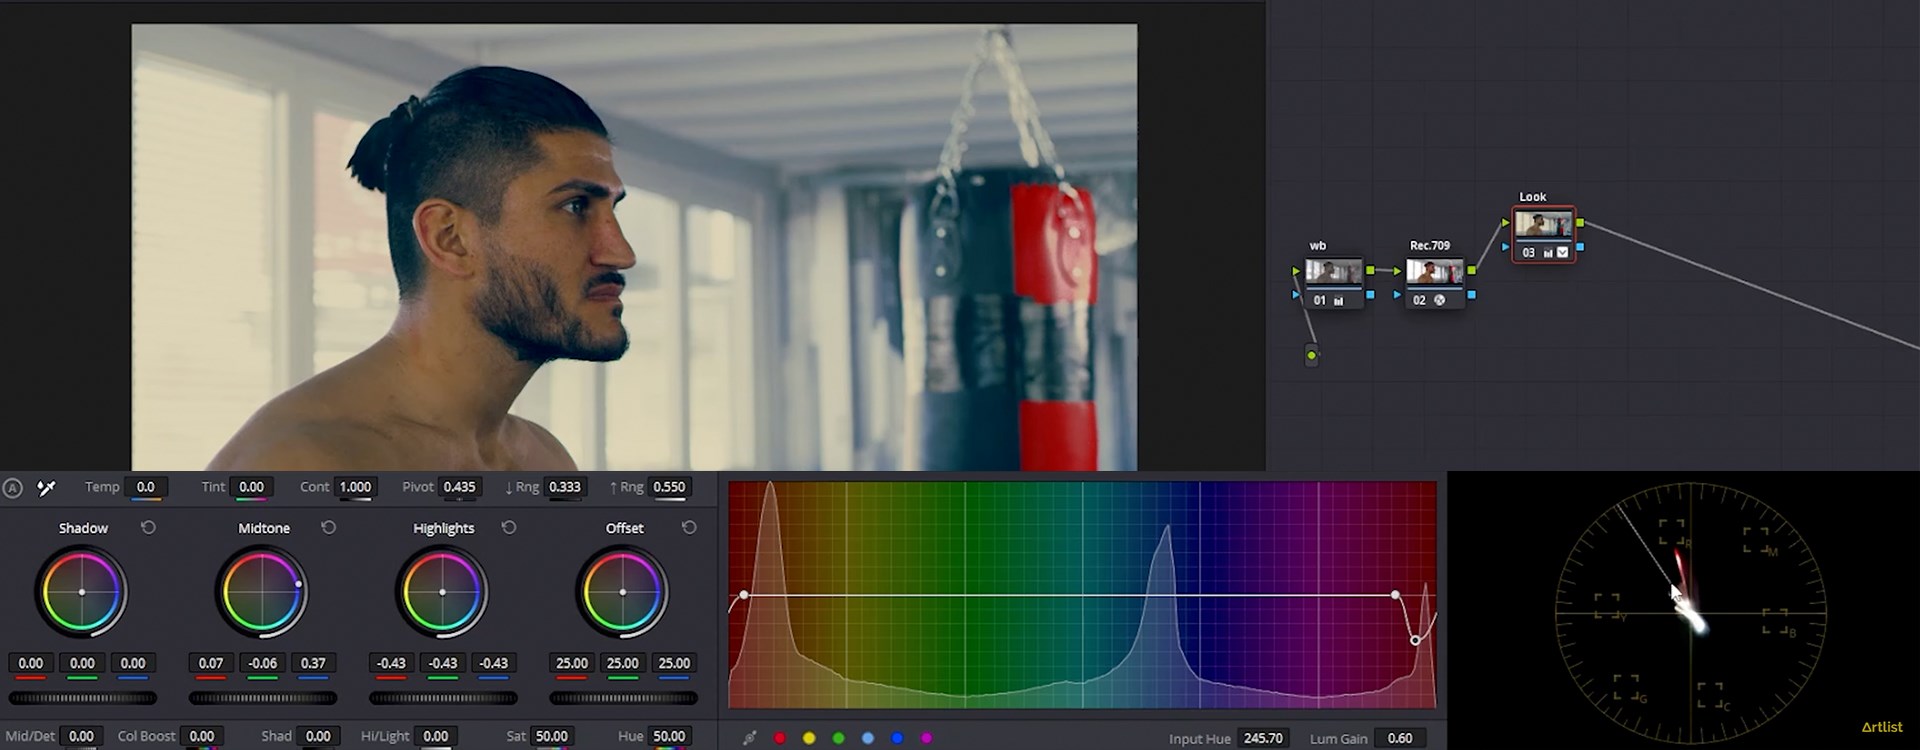
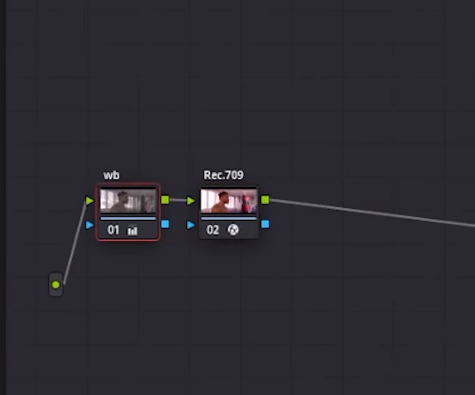
So, you’ll want to start by making separate nodes where you’ll isolate the first steps. In your first node, label it White Balance, or WB. Then make a serial node that you’ll label Rec 709. Let’s work on the second node first.
To do the right conversion, you must know what camera was used to shoot the footage. In this case, the footage was shot on RED. You can go about it one of 2 ways: either try out the LUT for free in DaVinci for RED (it is in your Creative LUT folder), or by using the Color Space Transform. Drag this into your node and then fix the settings by selecting RED in your Input Color Space tab. Select RED 3G10 in your Input Gamma, Rec 709 in your Output Color Space, and finally Luminance Mapping in your Tone Mapping Method. Congrats! You’ve done a proper conversion!
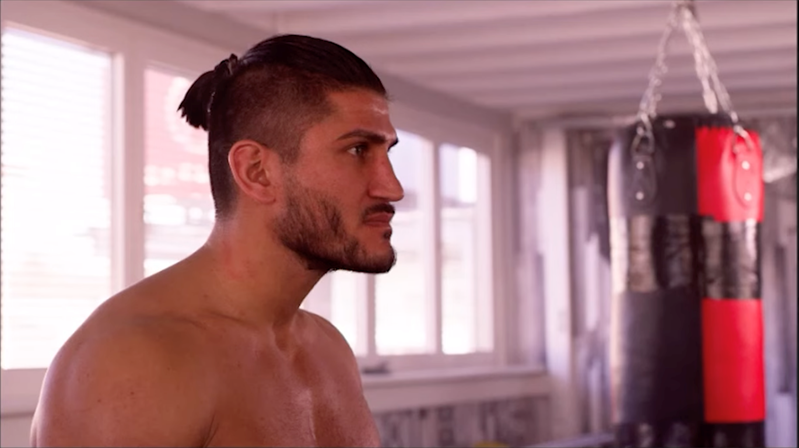
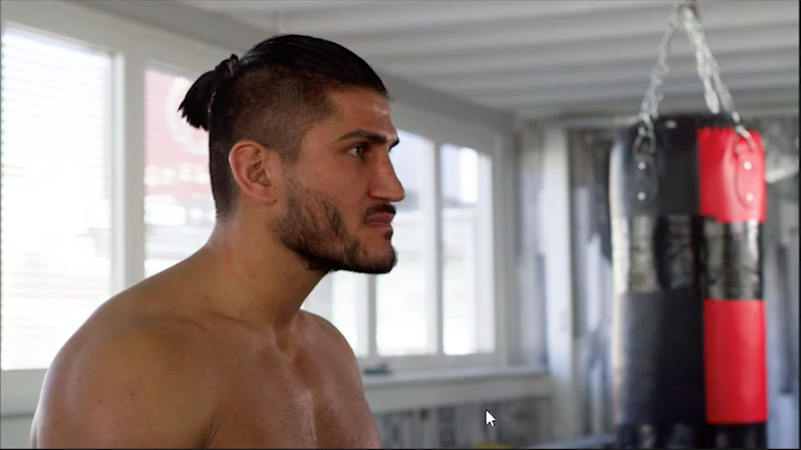
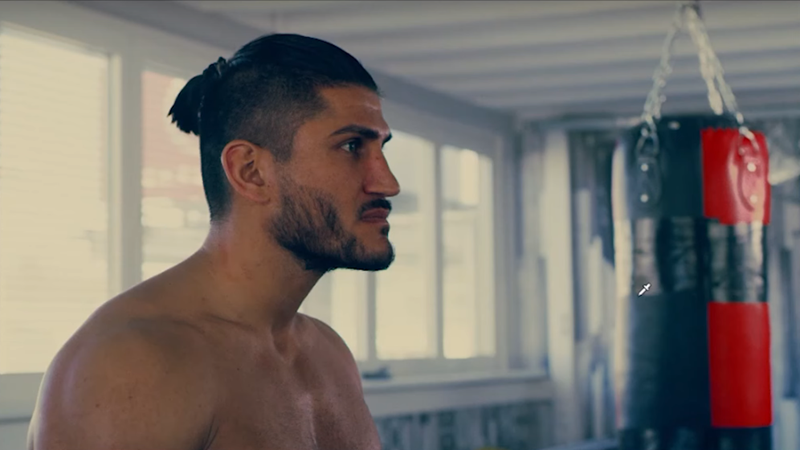
Or have you? You may notice the image is off due to an uncorrected balance. No worries! Switching back to your first node, start by bringing down your tint until you see improvement. If the image is still quite warm, bring down the temperature. You should be seeing a cleaner image, which means you’re just about there in terms of having your starting point.
Pro tip: to make sure you have the right balance, try dragging your eye drop tool just above your Lift wheel. Drop it into a place in your image that should be white, and this will auto-balance for you. One click, and you now have a nice, balanced image!
Neglecting skin tones
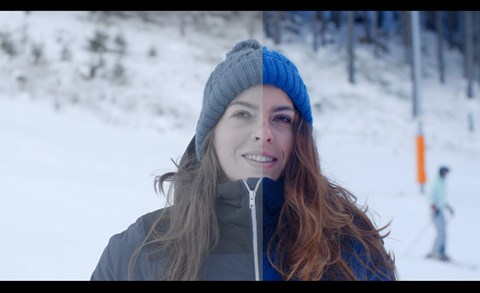
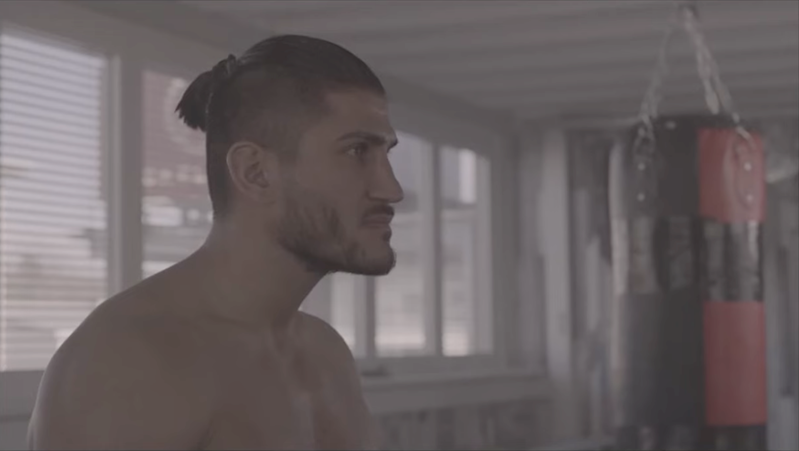
Moving on, the second common mistake comes in neglecting the skin tones of people in your shot. If you’ve already done your white balance and conversion, you probably started a new node where you’re creating the look you want. You may notice that the skin tone doesn’t match the image you’re going for, and this creates dissonance in your shot.
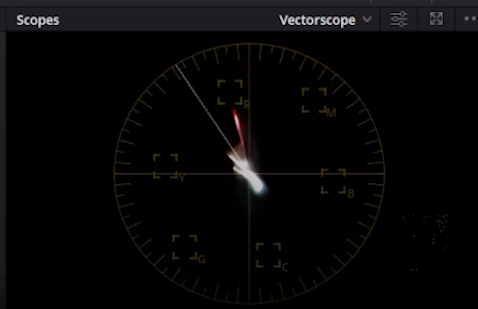
As a good gauge, go to your Vectorscope in the bottom-right corner. You should be able to see the line that indicates skin tone. If you don’t, click on the Settings in your Vectorscope tab, and click on the box that says, Show Skin Tone Indicator. This will indicate where the skin tone should be.
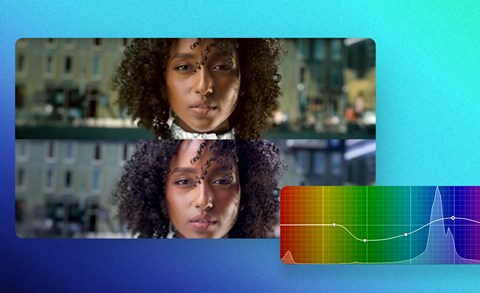
Start by creating a parallel node so you can see all the corrections you want to make. You can go one of 2 ways: either qualify and key out all the areas of the skin, or by using the Hue vs. curves.
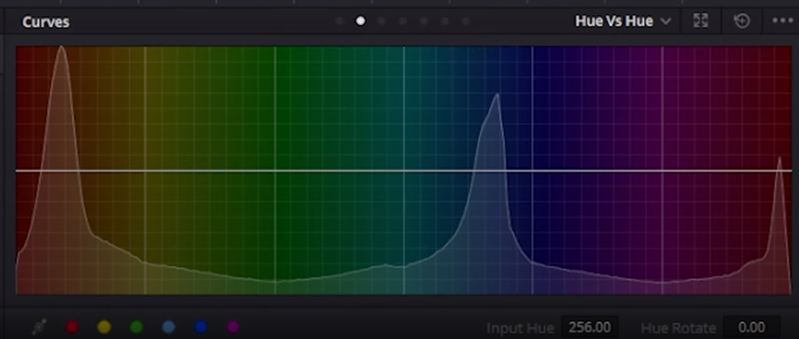
Using the second method, try clicking on Hue vs Hue and click a point on the skin. This point should correspond with a spot both on the curve, and on your vectorscope’s skin tone indicator. By moving around the spot on the curve, you’ll be able to adjust the skin tone and match it up appropriately with the skin tone indicator.
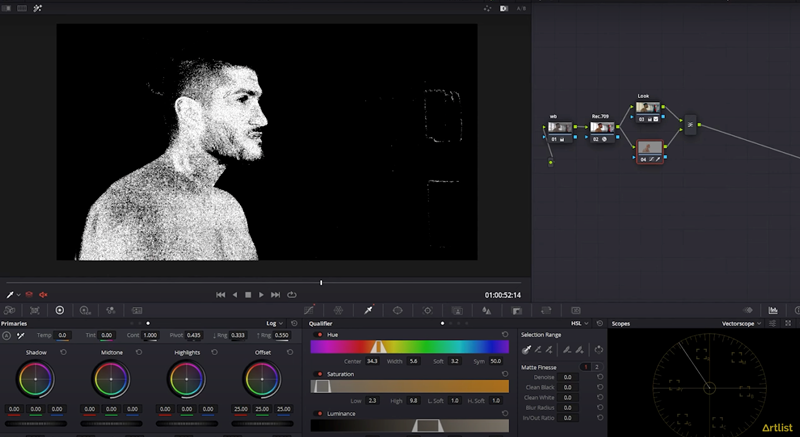
Now, this approach has limitations, namely that you can’t add new colors. You can add a layer/mixer node by hitting Alt+L or Option+L to begin working with adding colors to the skin. Go into your Qualifier tab and select the skin in the image. In the top-left part of the image, select the Highlight tab to see better how the skin is affected by each change. You can adjust the Matte Finesse accordingly, whether you want to denoise or blur to even out the skin tone.
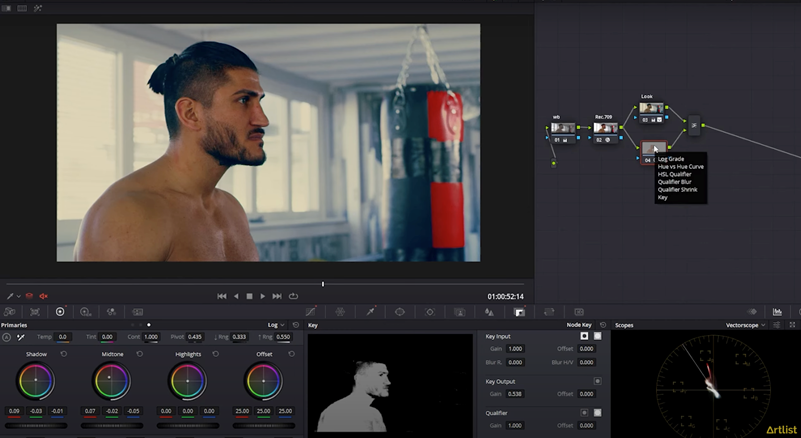
Now that you’ve done your look adjustment, you’ll notice that the skin still isn’t blending with the look you’ve established. No worries! Go into your Key Output tab and bring the gain down. You’ll notice that this will start blending well, but you don’t want to bring it down too much. Adjust accordingly. You can even adjust the log wheels to put final touches on the color of the skin.
Shadow not balanced
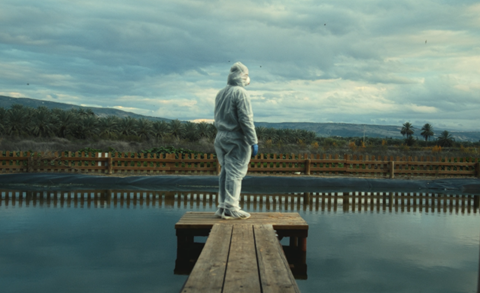
Lastly, the final mistake many beginners make is not having clean ‘blacks’. This means that the black areas in the shadows don’t appear fully opaque, and you’ll see tinted greens and reds with the naked eye. Also, if you look at your scopes on your right side, you’ll see that the shadows are lifted or down. Having clean shadows that sit on the right side of your scopes is critical for having a professional-looking color grade. Let’s get started!
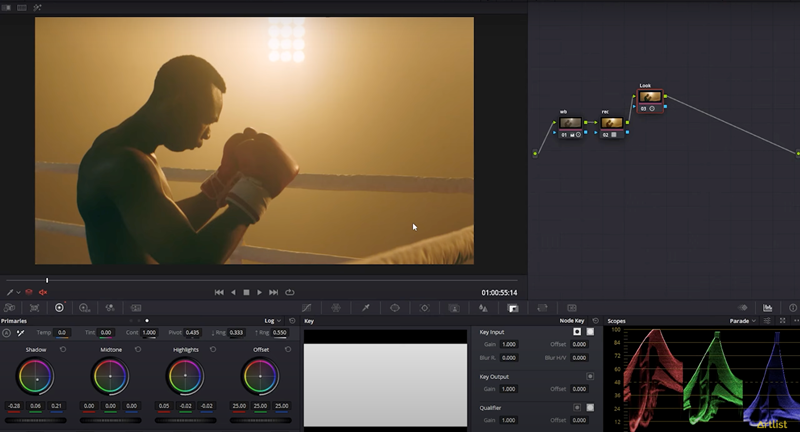
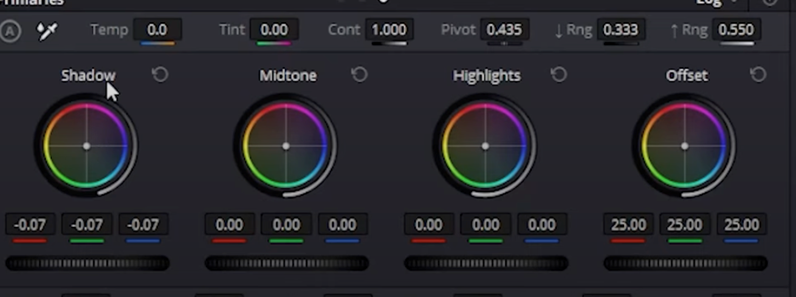
Start by creating a parallel node using Alt+P or Option+P. Then, going into your log wheels, bring down the shadows until you hit your zero point. By getting rid of the green tint, go into your shadow wheel again and push into the opposite direction of the tint you see. If you have green, push toward red or magenta. Vice versa if you happen to have red-tinted shadows. Play around with this until you can see the right balance with your eye and on the scopes to your right. If you think you may have gone too far, you can always bring down your output key. Or you can go back into your shadow wheel and adjust there.
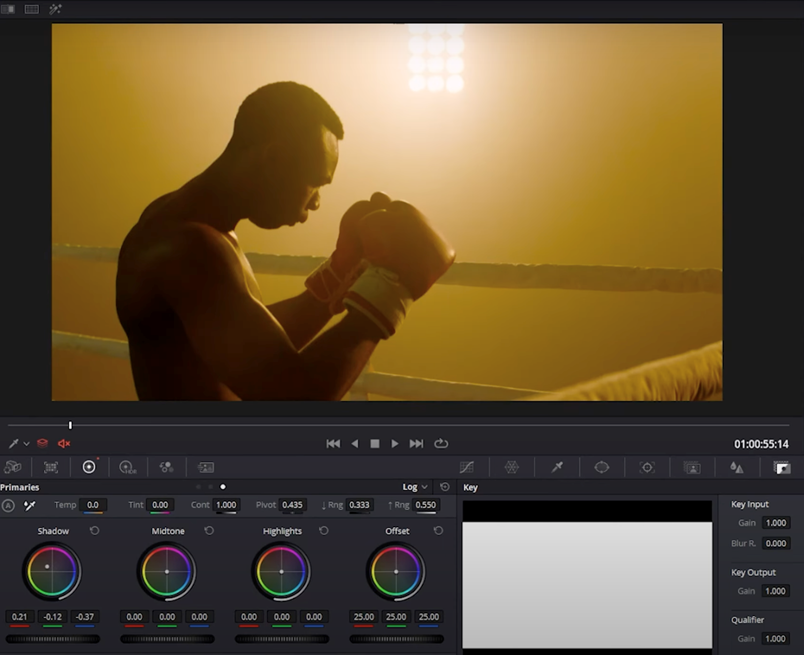
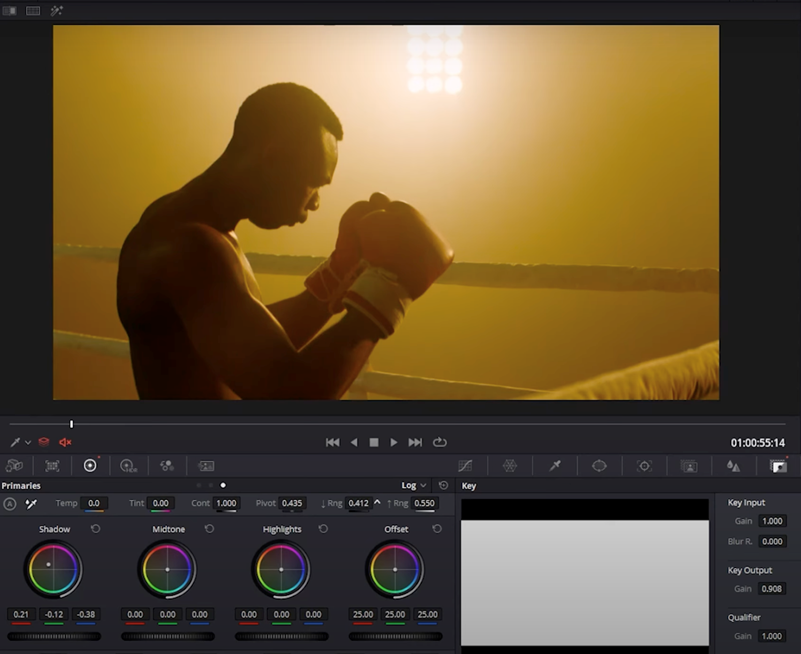
You can absolutely have some tints in your shadows, but the darkest blacks should be clean. If you wanted to affect only the darkest parts of your image, you can go into the Low Range tab. If you pull it all the way down to zero, you’ll notice that it affects all the shadows in your image. The more you pull up your low range, though, you’ll see that only the darkest parts of the image become opaque and clean. The more you pull up, the more it affects the shadows, so be cautious in how much you decide to darken your image.
Wrap up
These are the top color grading mistakes you want to avoid. If you set up your white balance and footage in the beginning, adjust the skin tones cleanly and make sure your shadows are richly black, you’re well on your way. Incorporate these tips as needed, and until next time, stay creative!