Having VFX at your disposal, you’ll soon see that the range of options for using them is great. Whether you’re using embers, fog, dust, raindrops, smoke, or fire, each one has the potential to make your shots much more dynamic. This tutorial will go over different examples for using the effects and give step-by-step tips for making sure they make the image pop!
Embers
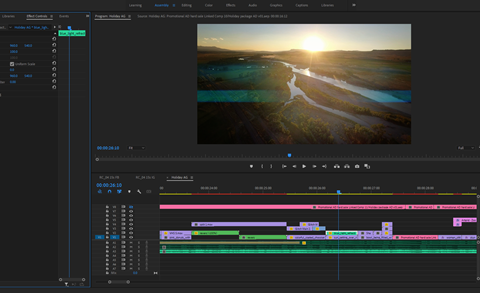
We’re in After Effects, and we’re going to use effects from one of the VFX packages we gave away not long ago. So we’re going to start with something simple and move onto something complex.
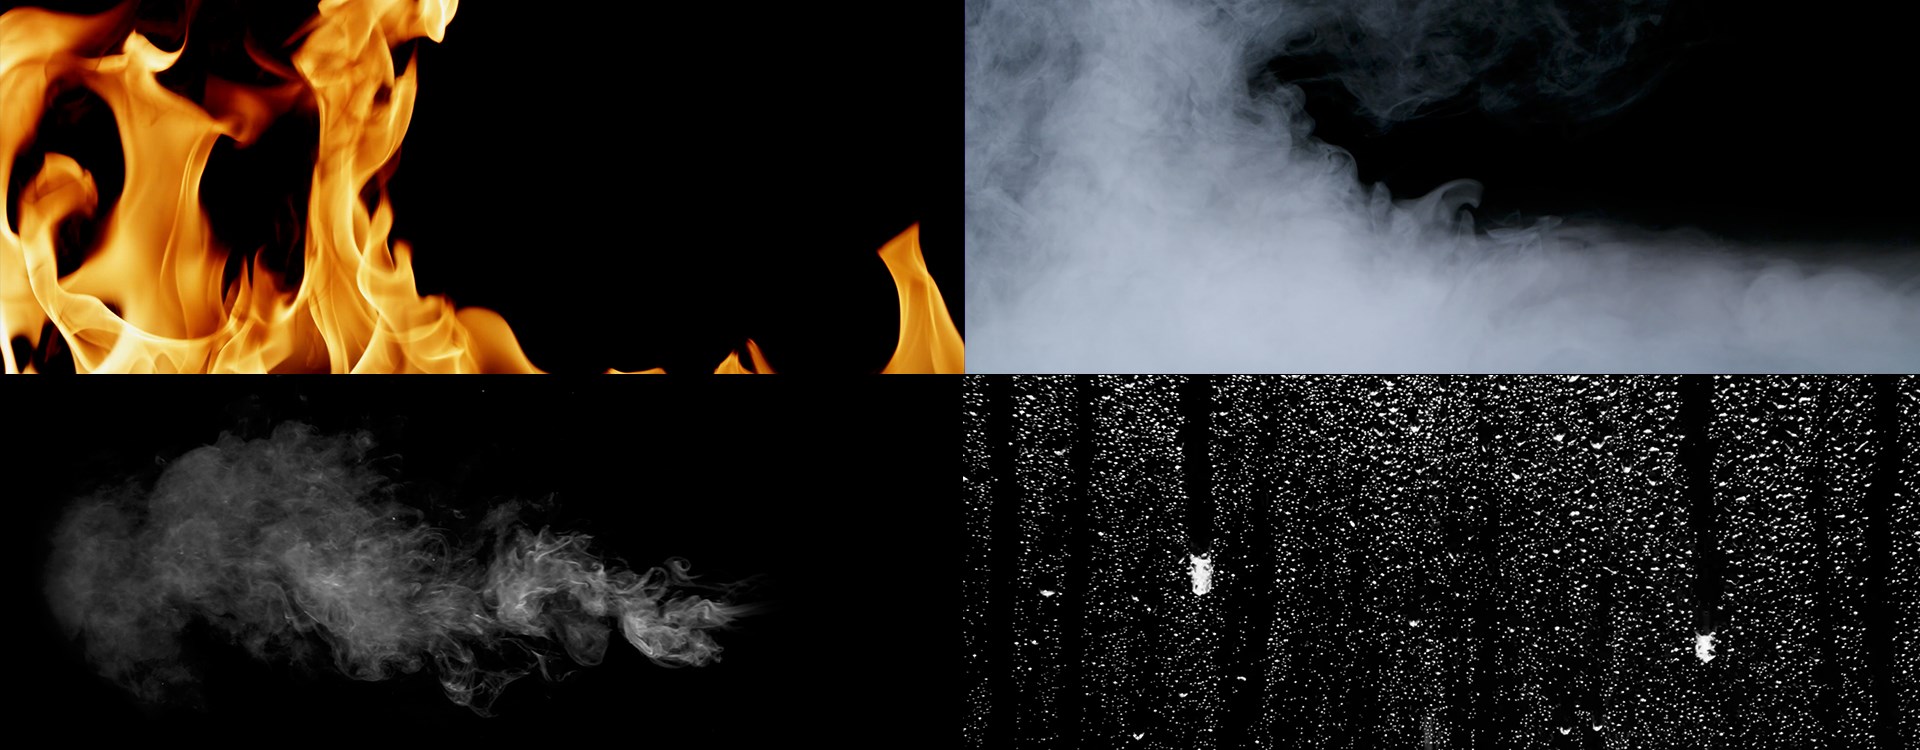
We have footage of a couple relaxing on the hood of their pickup truck next to a bonfire. In order to make the bonfire pop, try adding embers to it. If you go into your VFX pack, you’ll see a selection of different embers. For this, we’ll choose Embers 5.
You’ll then want to drag it in and scale up. Next, go into the blending mode, and go full screen. This is a super-easy way to use effects to create a beautiful shot.
Smoke
For the next shot, we have a woman running through smoke.
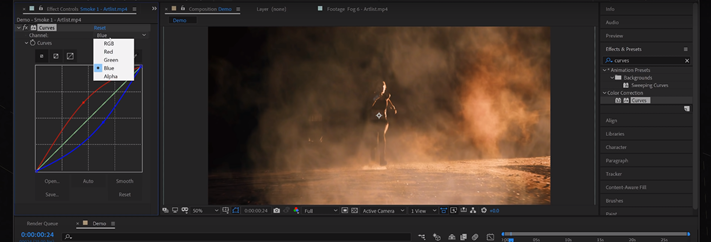
We’re going to color correct and blend the effect into the shot. You want to blend the elements to make the shot look good and go for the effect you’re trying to achieve.
So, the woman is running, and we want to enhance this footage by making it more exciting. A super easy approach would be to go to the VFX pack and choose the smoke tab. There are 4 smoke elements, and for this shot, we’re using Smoke 1.
When dragging it into the video window, the first thing you’ll notice is that the black background covers the screen. No worries! By going into the blending mode and selecting Screen, you’ll eliminate the black background, bring back your shot and keep the smoke effect.
Next, bring up the scale on the smoke to make sure it covers a greater area on your shot. Play around to make sure how much fits. Then, bring color correction to the shot. Your goal is to get the effect to have the same color grading as the original shot. Starting with the reds, you’ll move to the blues and then the greens.

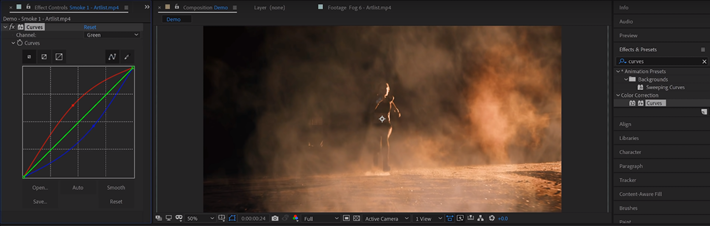
Dropping the opacity and speeding up the smoke in the time stretch will give your smoke visibility and flow.
Thus, we’re using scale, effect, color grading and time stretch to make sure your effect is consistent with the original shot and works seamlessly into the picture.
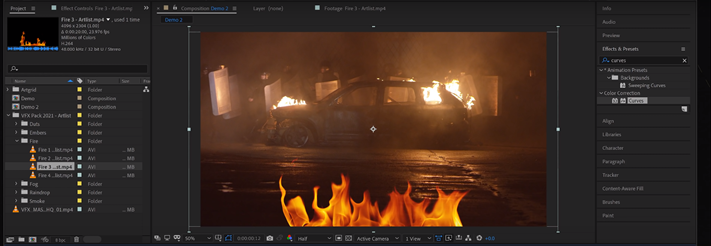
Fire
With this shot, we have a car with fire on the hood and in the trunk. We want to give the vehicle more fire within it, which will be a much more complex shot than before. Let’s get started!
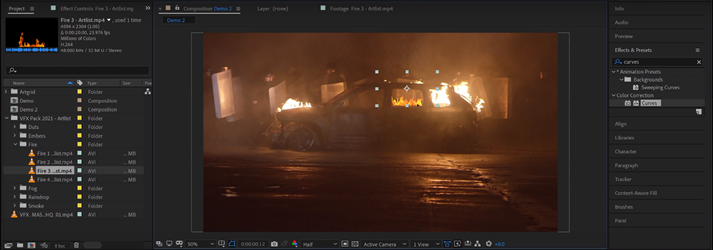
Start by going into your VFX pack and look at the different “Fires” in your folder. You’ll have a black background, so change the settings in your blending mode so that it will fit in your shot. Usually, screen mode might be sufficient, but this time, you want a blending mode with a greater glow to it. So, choose Add instead.
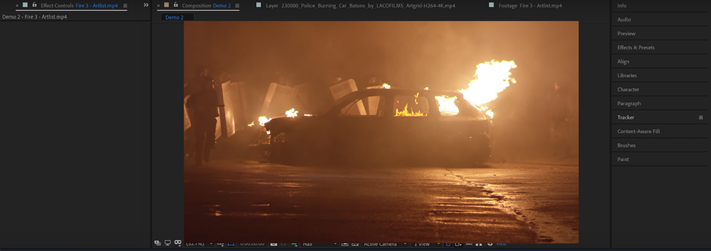
Scale it down so that it can fit snugly in the window. Before moving into color correction, you want to make sure the motion tracking is fixed so that it doesn’t stay stationary with the moving camera.
Fixing this requires you to get to your position, create a keyframe and drop your fire at different points in the timeline. Now it’s stable with the moving camera.
To make it look more like the fire is within the shot, change the tint within the fire to make sure it has the white color as the one in the original shot. Then, add Gaussian Blur to soften the distinction between the 2 fires.
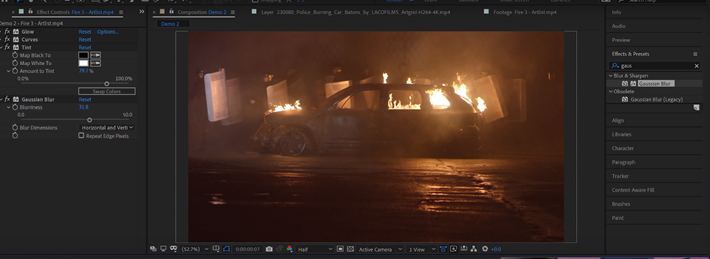
While you’re was ahead of where you started, you want to make sure you can blow out the fire you’re adding like the original ones. To make it less detailed, go into your brightness and contrast to adjust them accordingly. Then, change your curves into the greater yellows. Finally, in your Hue/Saturation, you can adjust the image accordingly while making sure your blur isn’t too different.
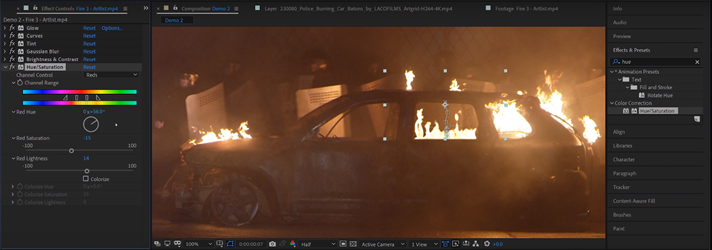
Once you have these settings figured out, you can add another “Fire” to the other window while copying the same settings. After motion tracking, you have a copy of all the hard work you’ve done. Finally, you’ll want to add an atmospheric glow around the fire. To do this, add a yellow “Solid” around the fire under the “Add” blend mode while dropping the opacity. This will give you a nice natural glow that matches the fire within the shots.
Raindrops
For the next shot, you have a couple sitting together in the rain near a window. We’re going to add texture by adding raindrops. In the VFX pack folder, choose Raindrop 2 and drag it in. Be careful with the blending mode since Screen will make the raindrops white.
Choose Color Dodge instead so that your raindrops are translucent enough for the image and colors to come through.
Now that you have the different examples, you can play around and have fun with your new effects. Be sure that you’re flexible and have fun while being creative with all the elements!
Until next time, stay creative!